Installation
Magnetic contact switches
The magnetic contact switches are used to detect when the garage door is closed. Open is an assumption based on not being closed. Not closed means the garage door could be open, partially open, or in the process of opening or closing.
Picking an place to install them should be fairly straightforward. From the photos below you can see that magnet portion of mine are mounted on the inside edges of the garage door. The contact switch is mounted on the wall near the garage door.
The magnetic contact switches come with screws to install them. But I decided that it would be easier to mount them with "industrial double sided tape." This turned out to be useful, because aligning the switch and the magnet part might not be quite as obvious as you would expect. In one of my switches, the magnet was not centered in its housing. This meant that I had to vertically offset the magnet just a bit for it to work reliably. Like this:
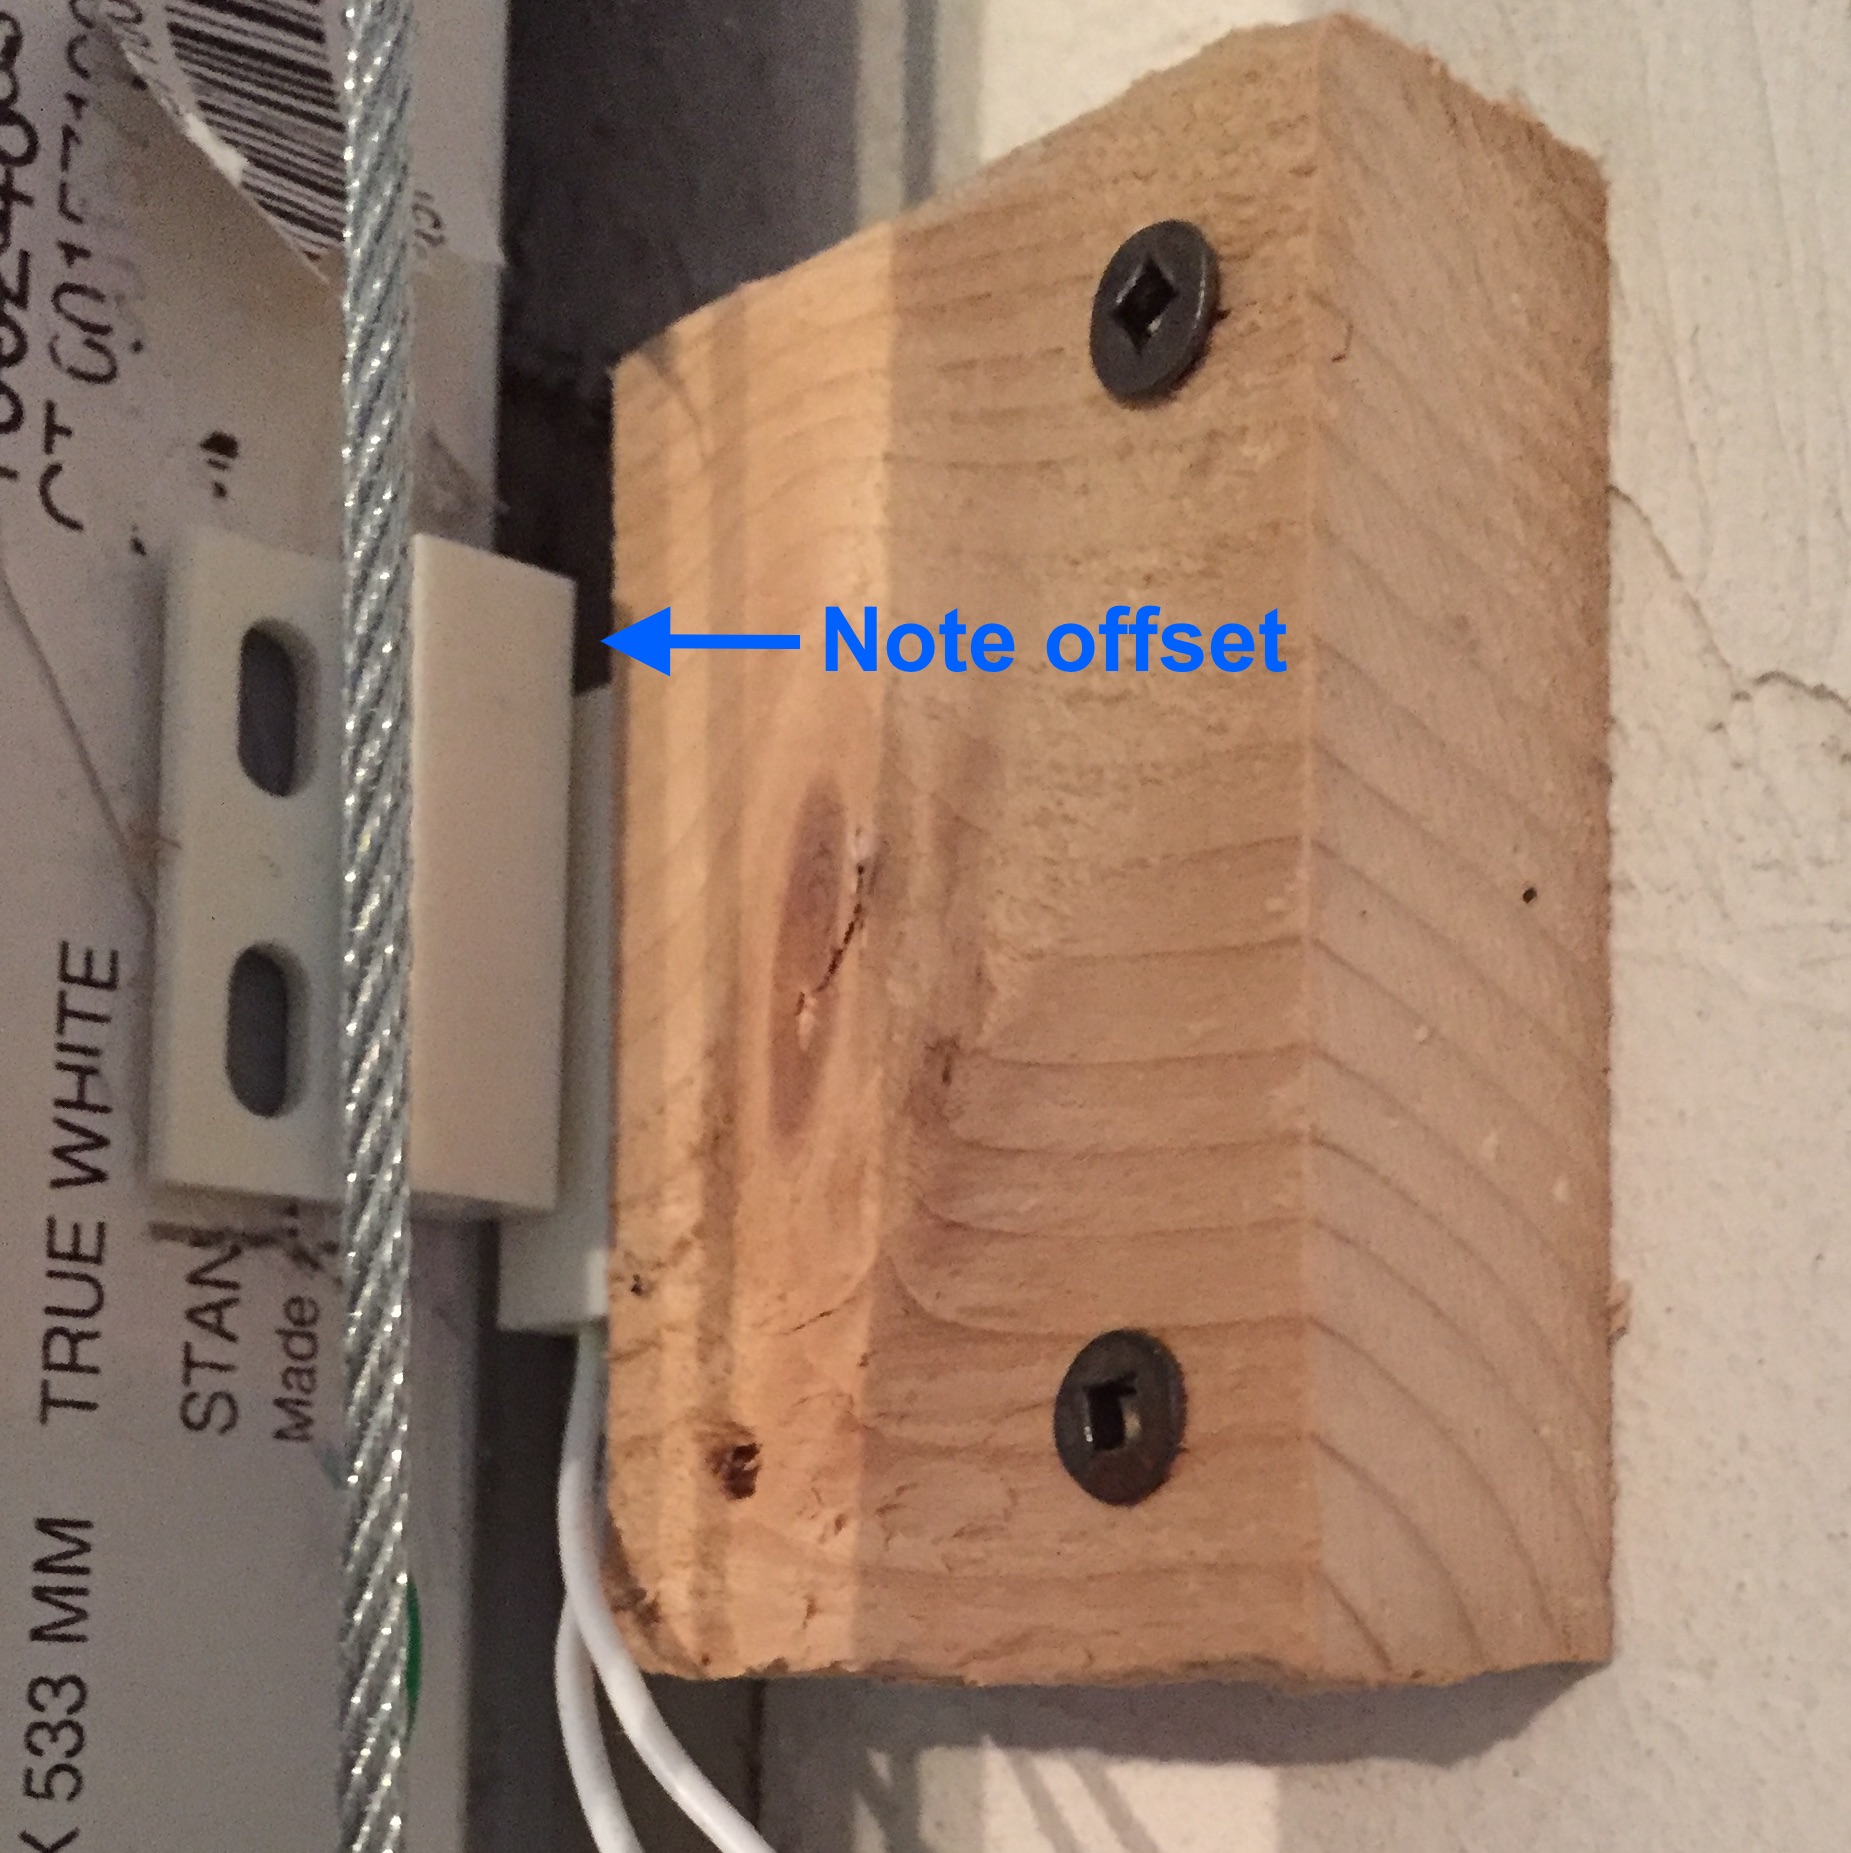
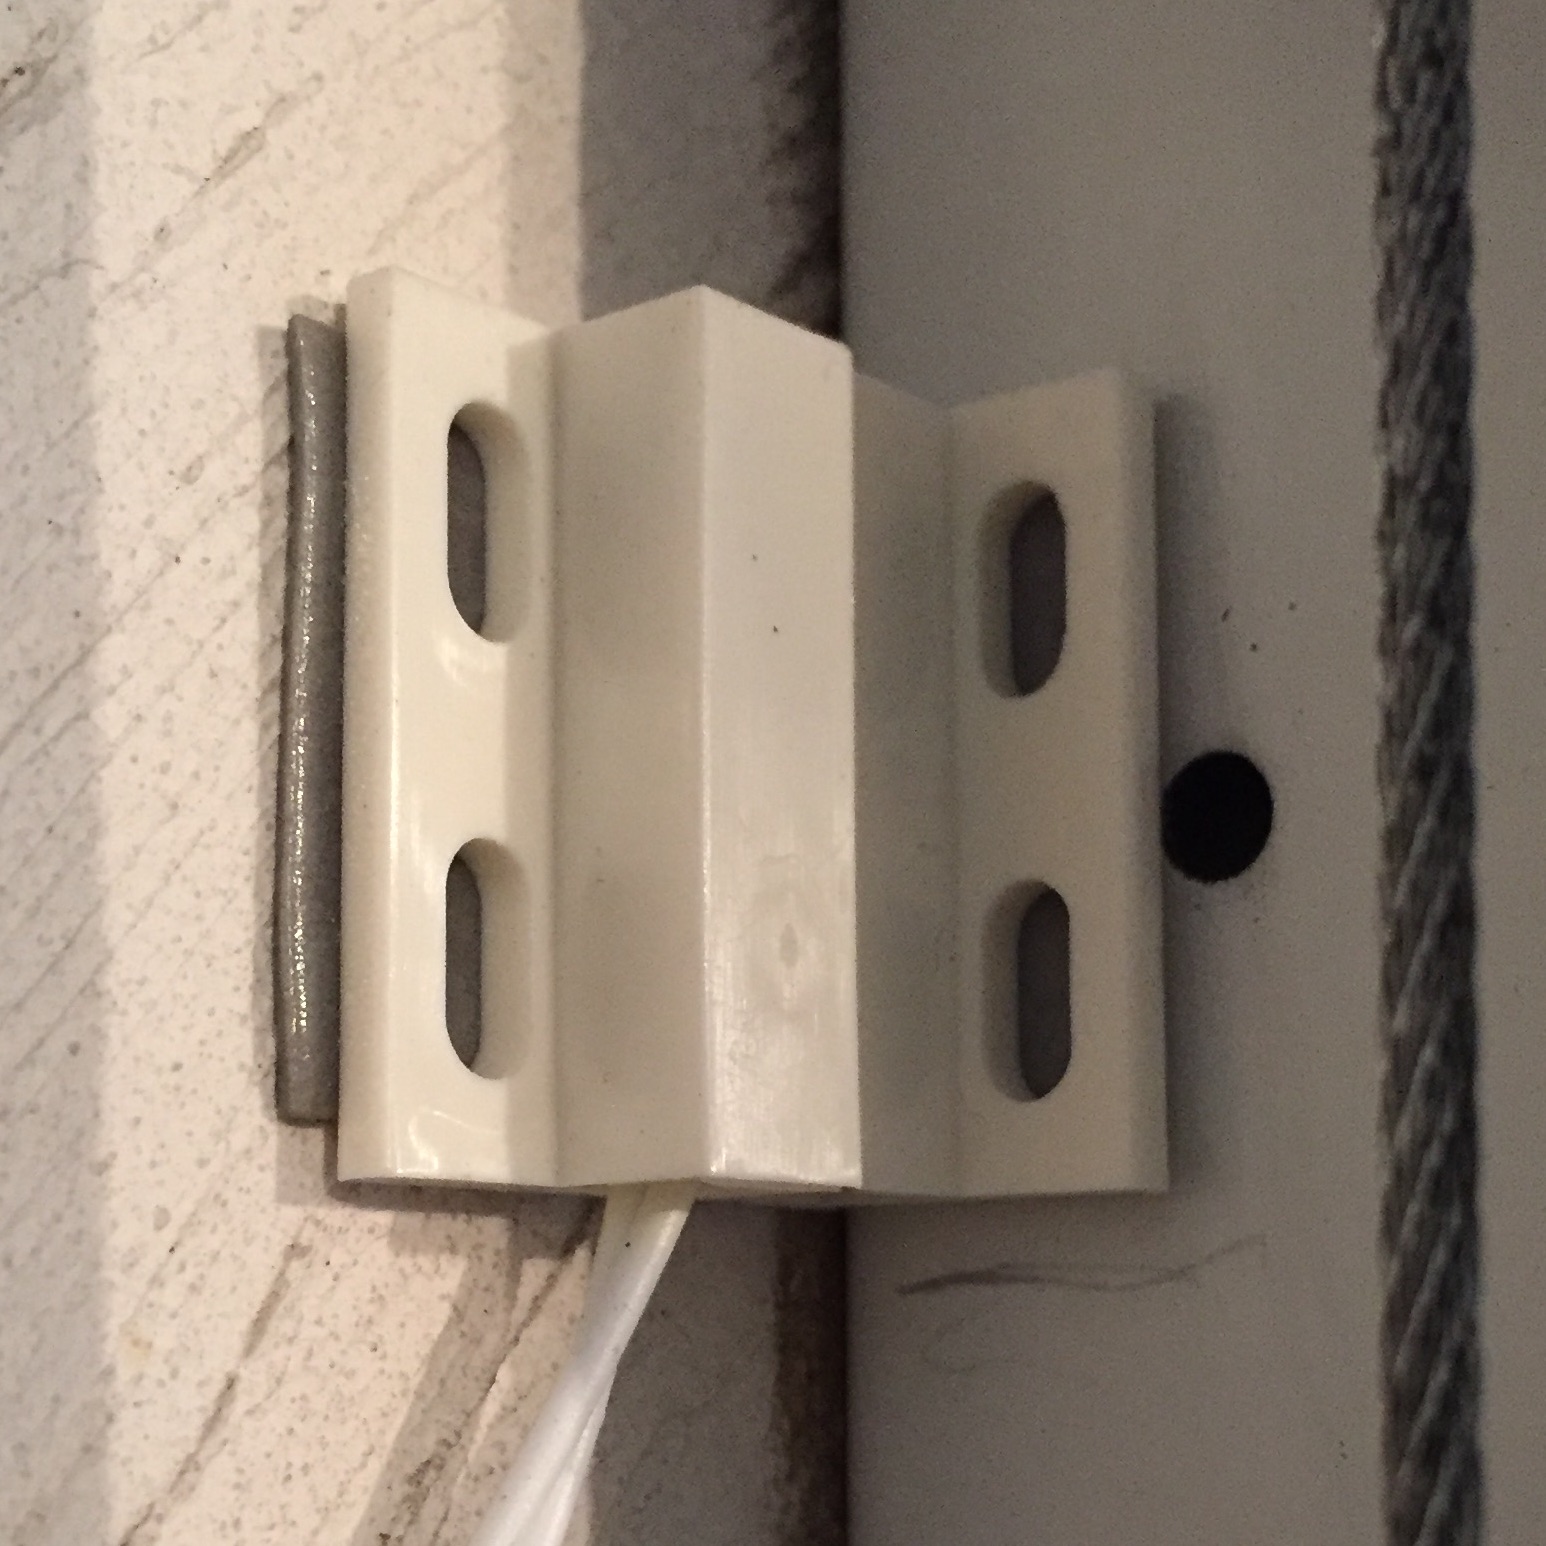
Left and right magnetic contact switches
I first installed the contact switch to the wall at a point where the magnet part could easily overlap with the switch part. To find the proper alignment, I just ran the apps (HUZZAH and iOS) and moved the magnet until the iOS app saw a solid "Closed", marked that spot, and then installed the magnet on the garage door.
You will also note that in this installation, one of the switches is mounted on a piece of wood. That happened because of the way the garage door was installed. For some reason, one of the doors is set away from the wall a bit and required the wood shim to mount the magnetic contact switch in location where the magnet could properly line up with the switch.
You will need to get mains power to your USB power supply. I grabbed an inexpensive extension cord that would reach from the nearest outlet to my installation point. The power supply in the materials list has a 6-foot cord on it that should help somewhat.
The HUZZAH/relay assembly
The size of the piece of wood in the materials list is large enough to comfortably mount the breadboard (or HUZZAH stack) and the relay module to the wall. As you can see in the photo below, this installation does not have a relay module.
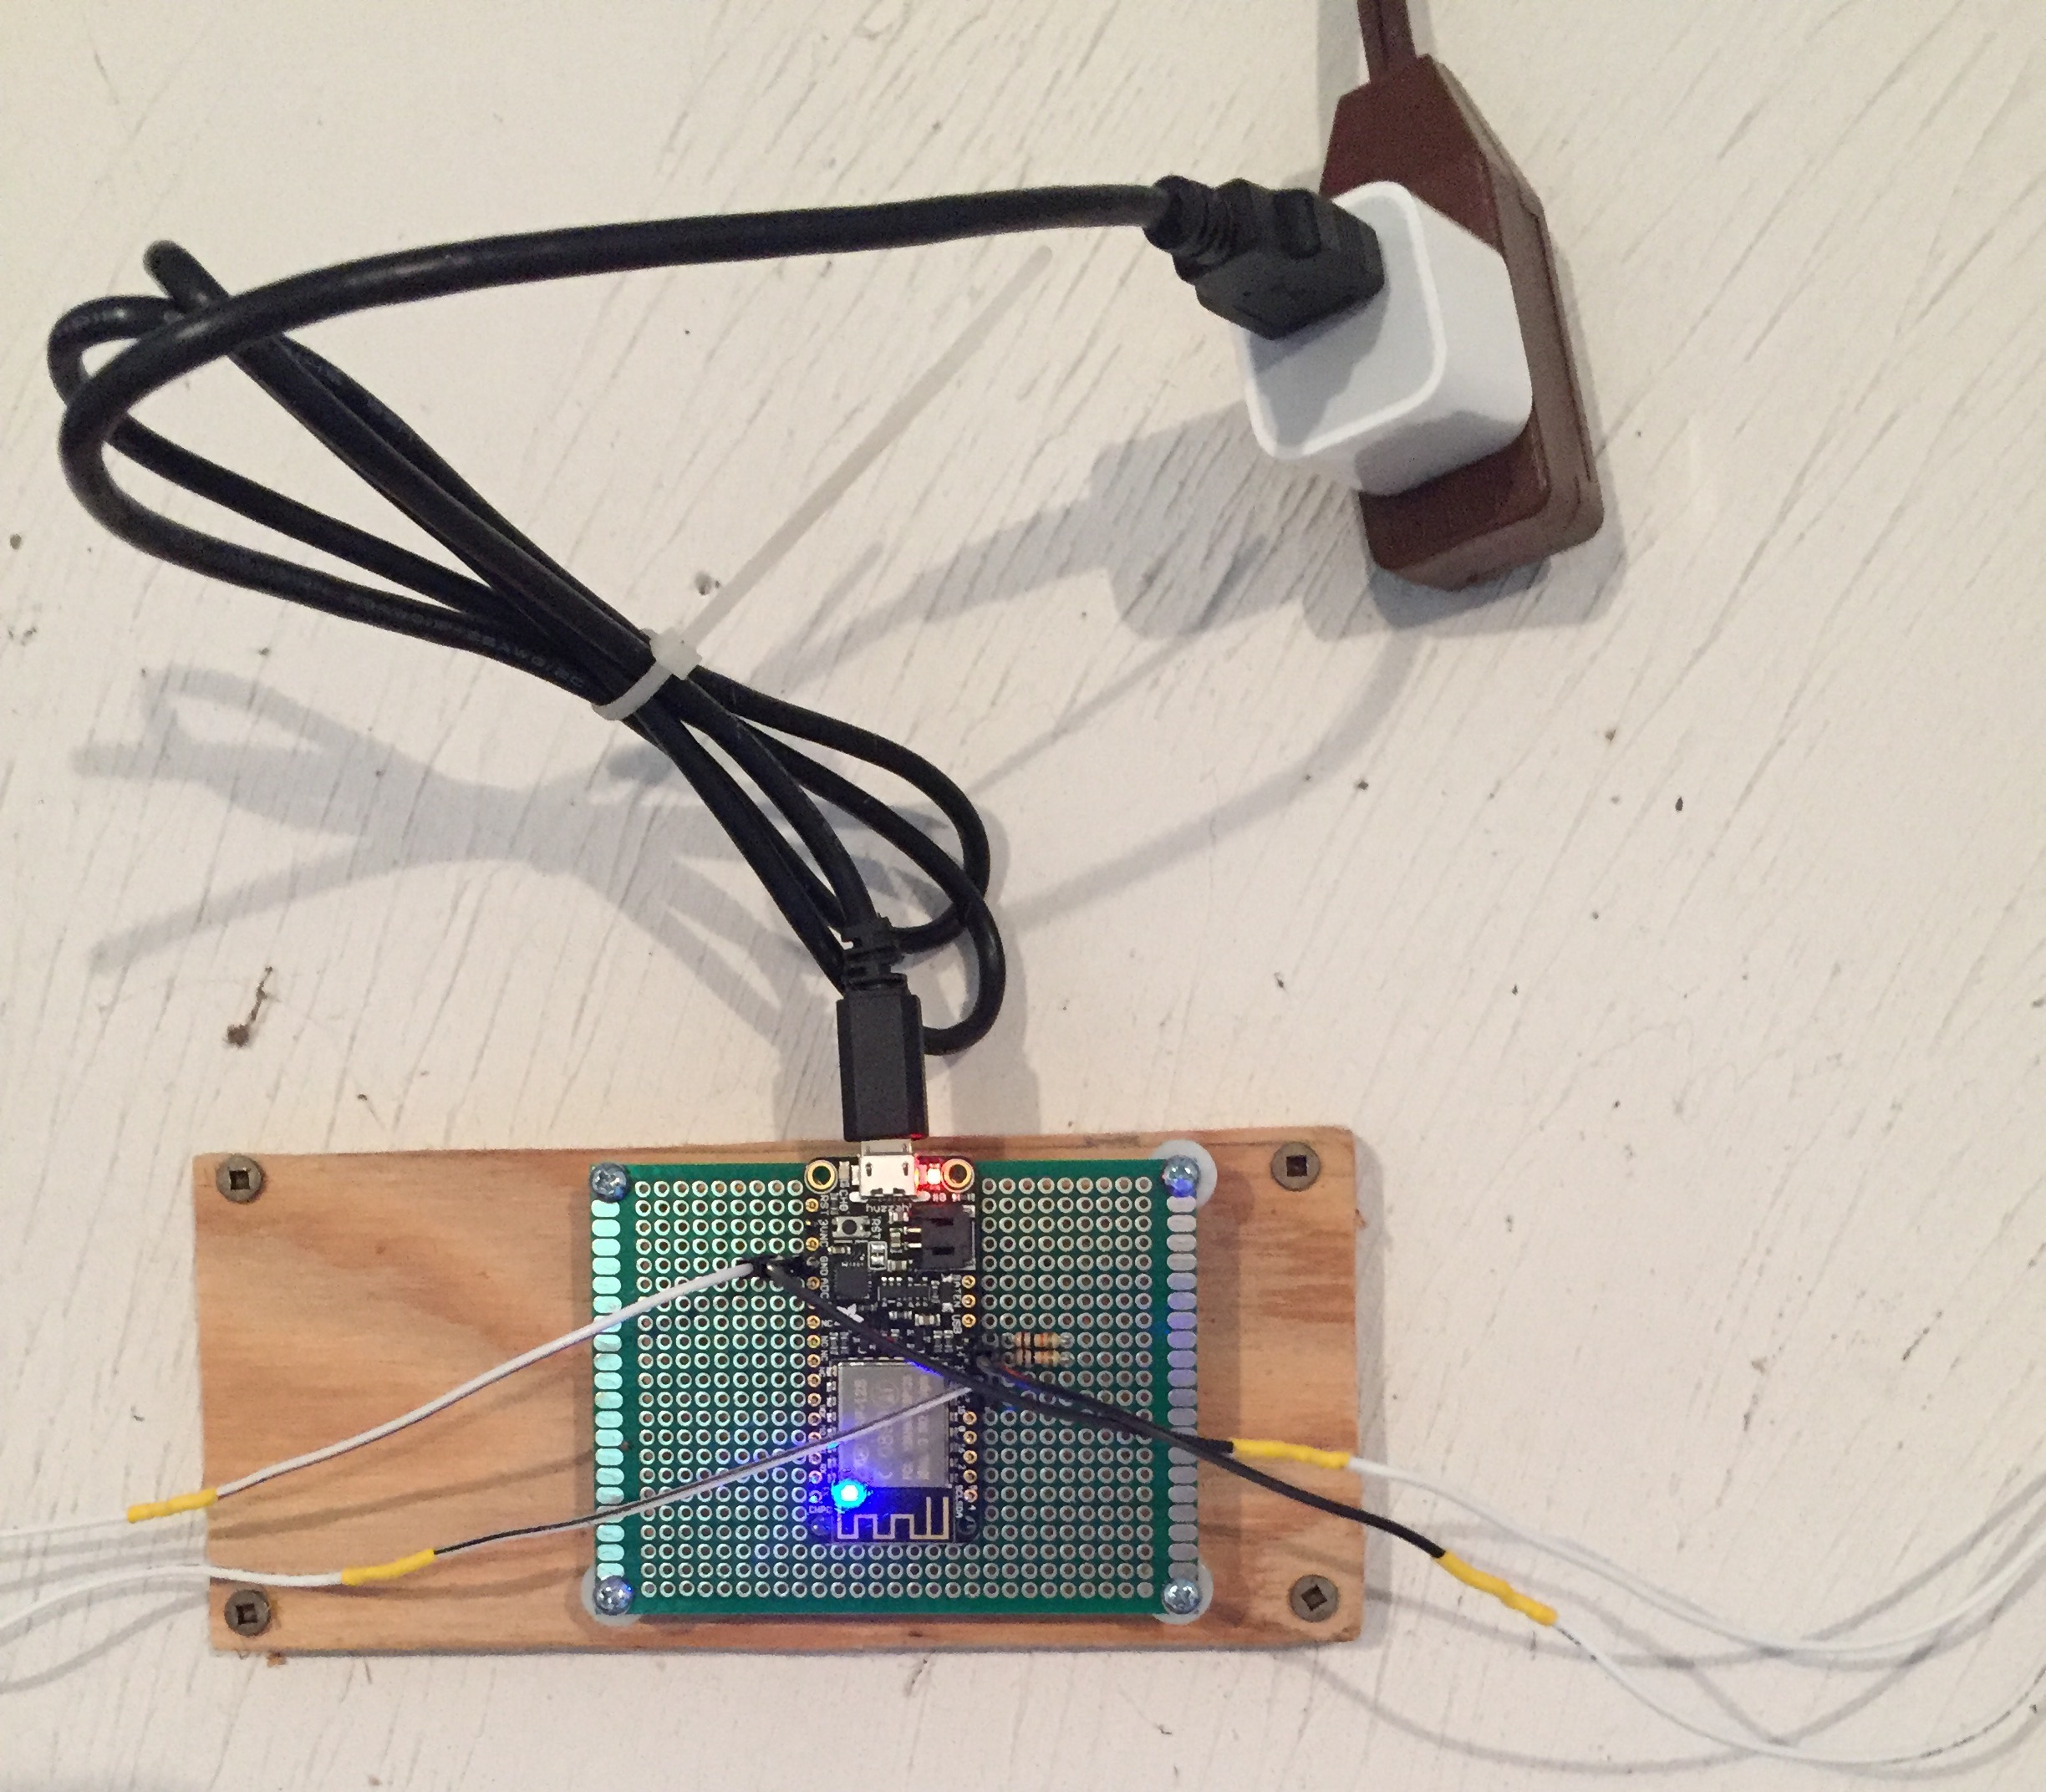
Installed HUZZAH
The overall installation looks like this:
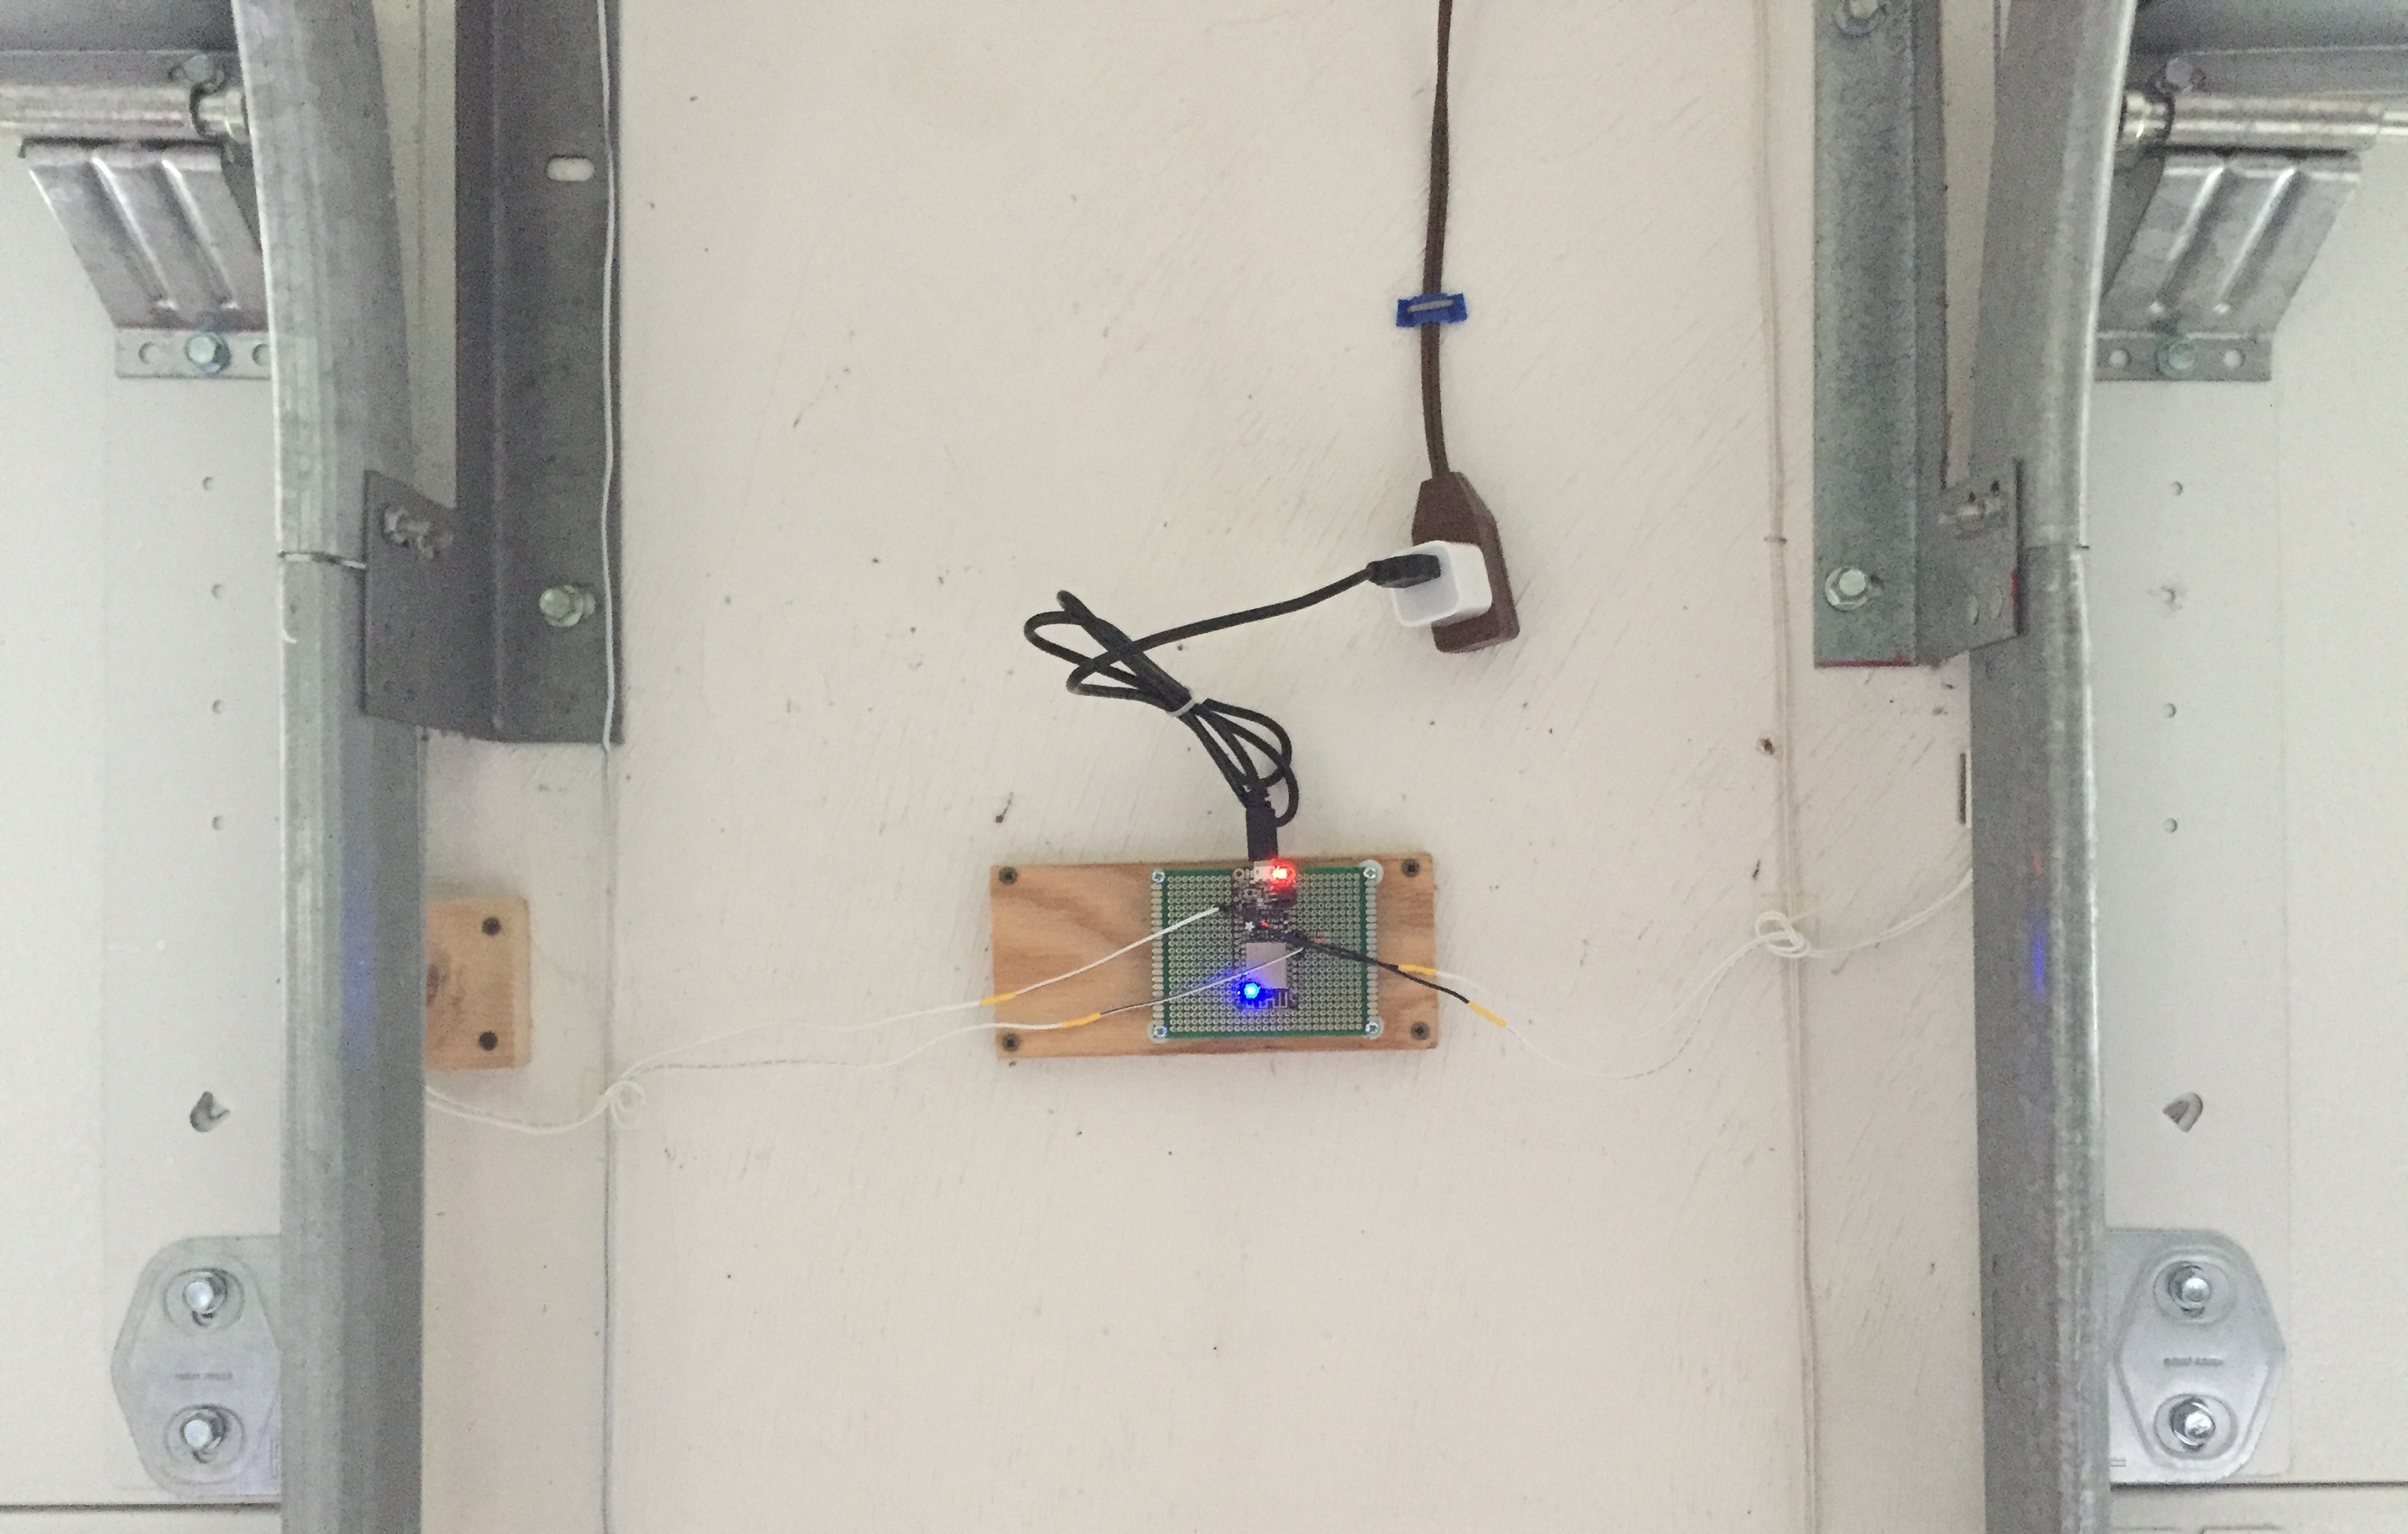
Full installation
Your installation will depend upon the construction and layout of your garage. If the wall surface was smooth and clean enough, you could do the installation with the double sided tape rather than screws.
Wiring relays to garage door openers
First I should say that there are many brands and versions of garage door openers. My experience is limited to 2 brand/models. That said, most of them have a set of terminals that are connected to a normally open switch. Usually you can add the connection to your relays in parallel to the push button that's probably mounted somewhere in your garage.
To test this theory on my openers I grabbed a momentary contact switch I had from Adabox003 and put it on the breadboard that came with Adabox003. A couple of jumpers and two alligator clips gave me this:
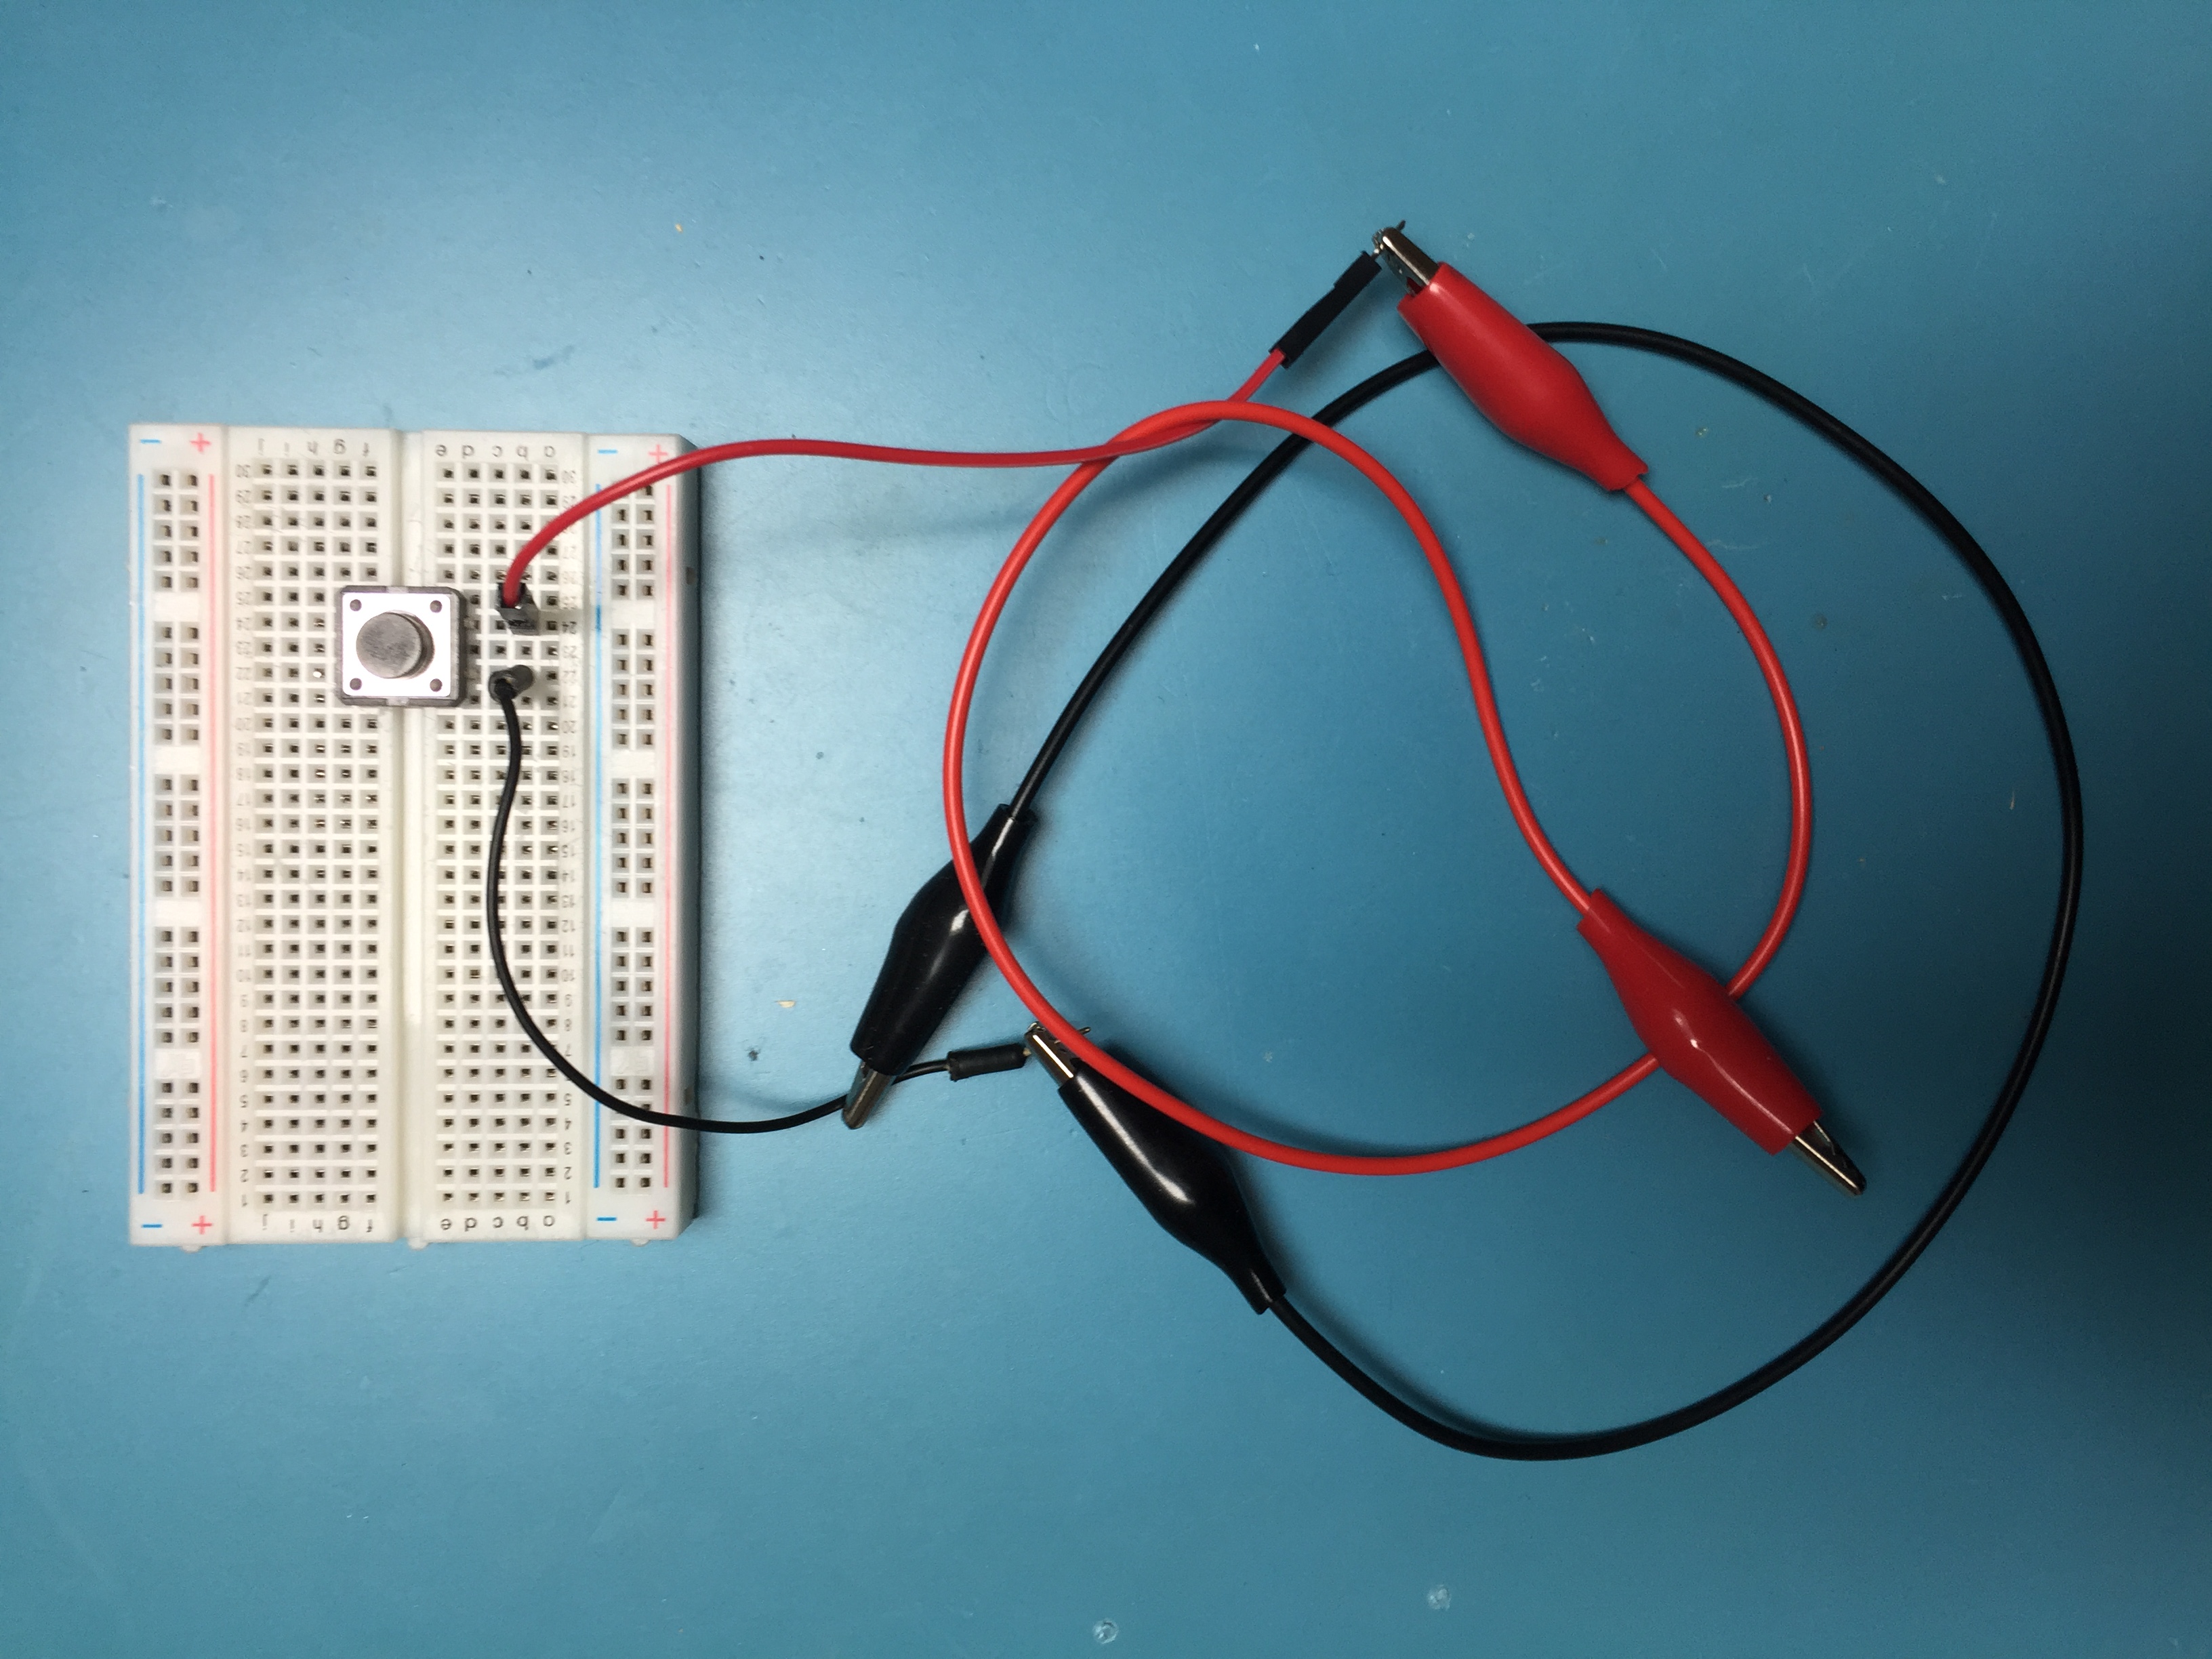
Temporary push button setup
Please be careful when you test. When you are successful with the button "push", the garage door will start moving along with the drive mechanism for the door. A little care will keep you and your equipment from getting entangled the drive mechanism or even struck by the moving door, or release handle attaching the door to the drive mechanism.
My plan was to use this to attach (via the alligator clips) to the garage door opener to make sure that a normally open switch in parallel would work as required. Here's the setup with the first door opener, a Genie BlueMax (a very old opener).


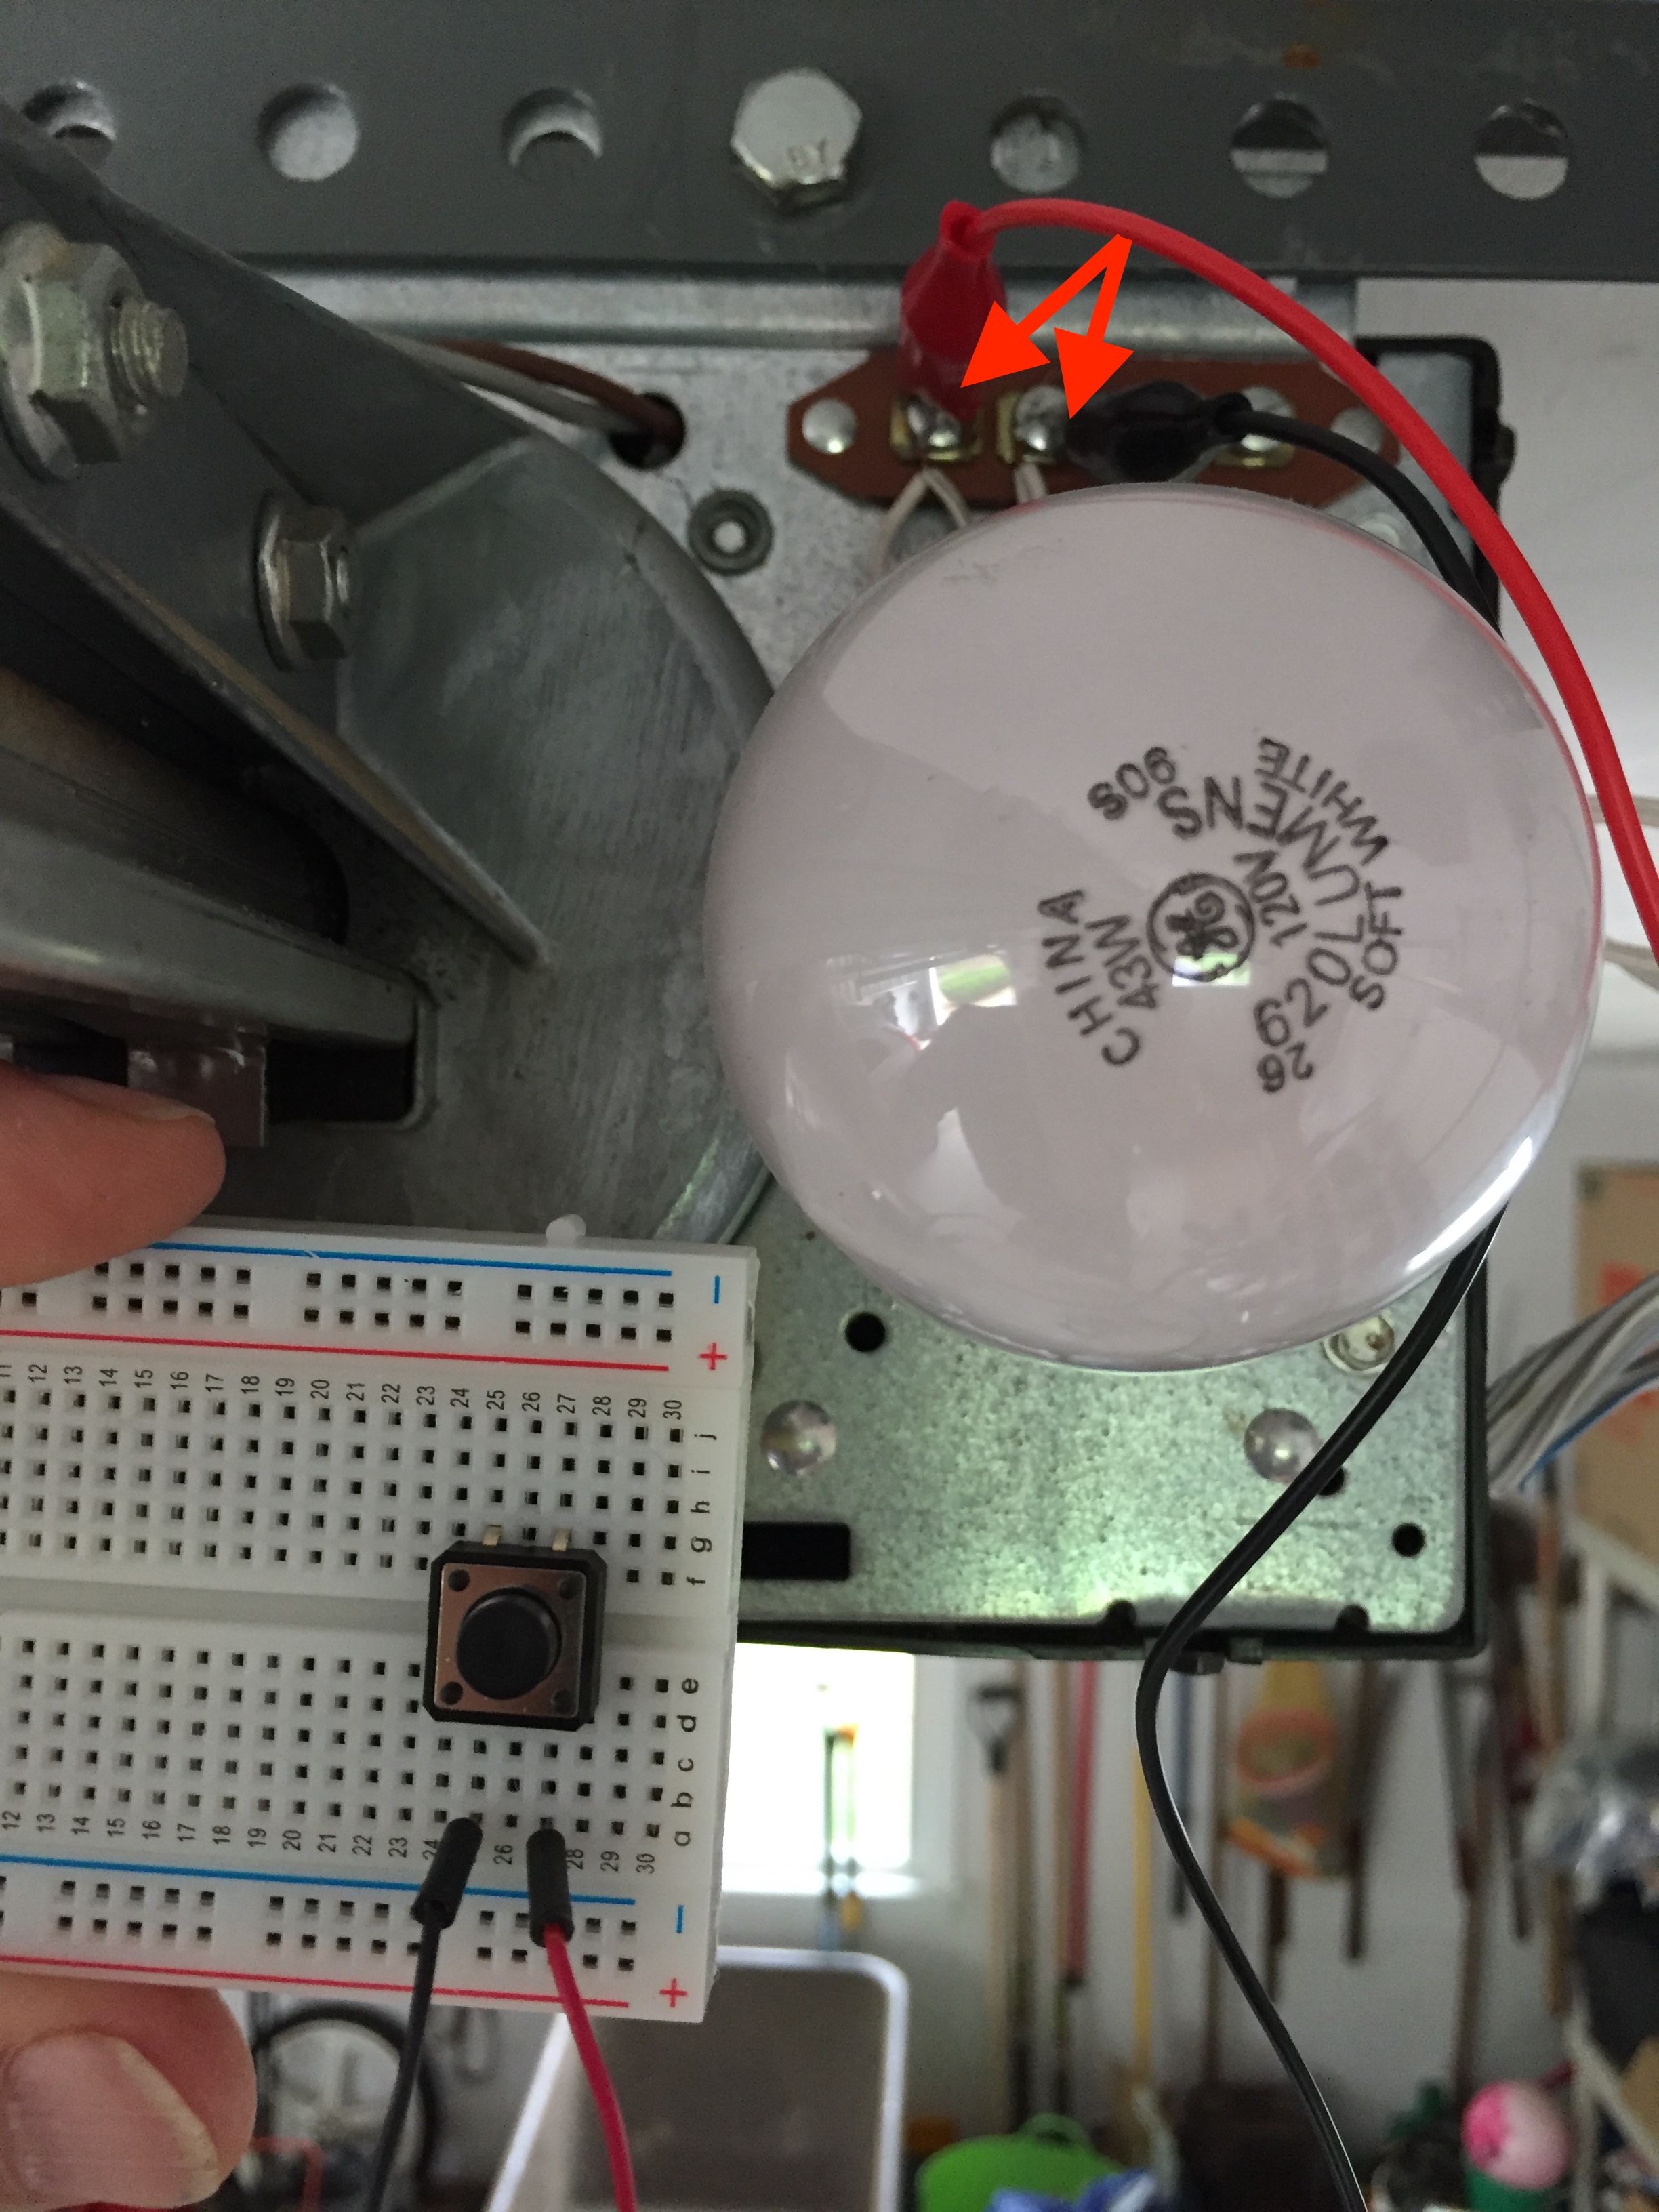
Locating and testing contacts (Genie BlueMax)
Here are the equivalent photos for the other door opener, a Linear of fairly recent vintage. As you can see in the photo, it even has the contacts labeled.
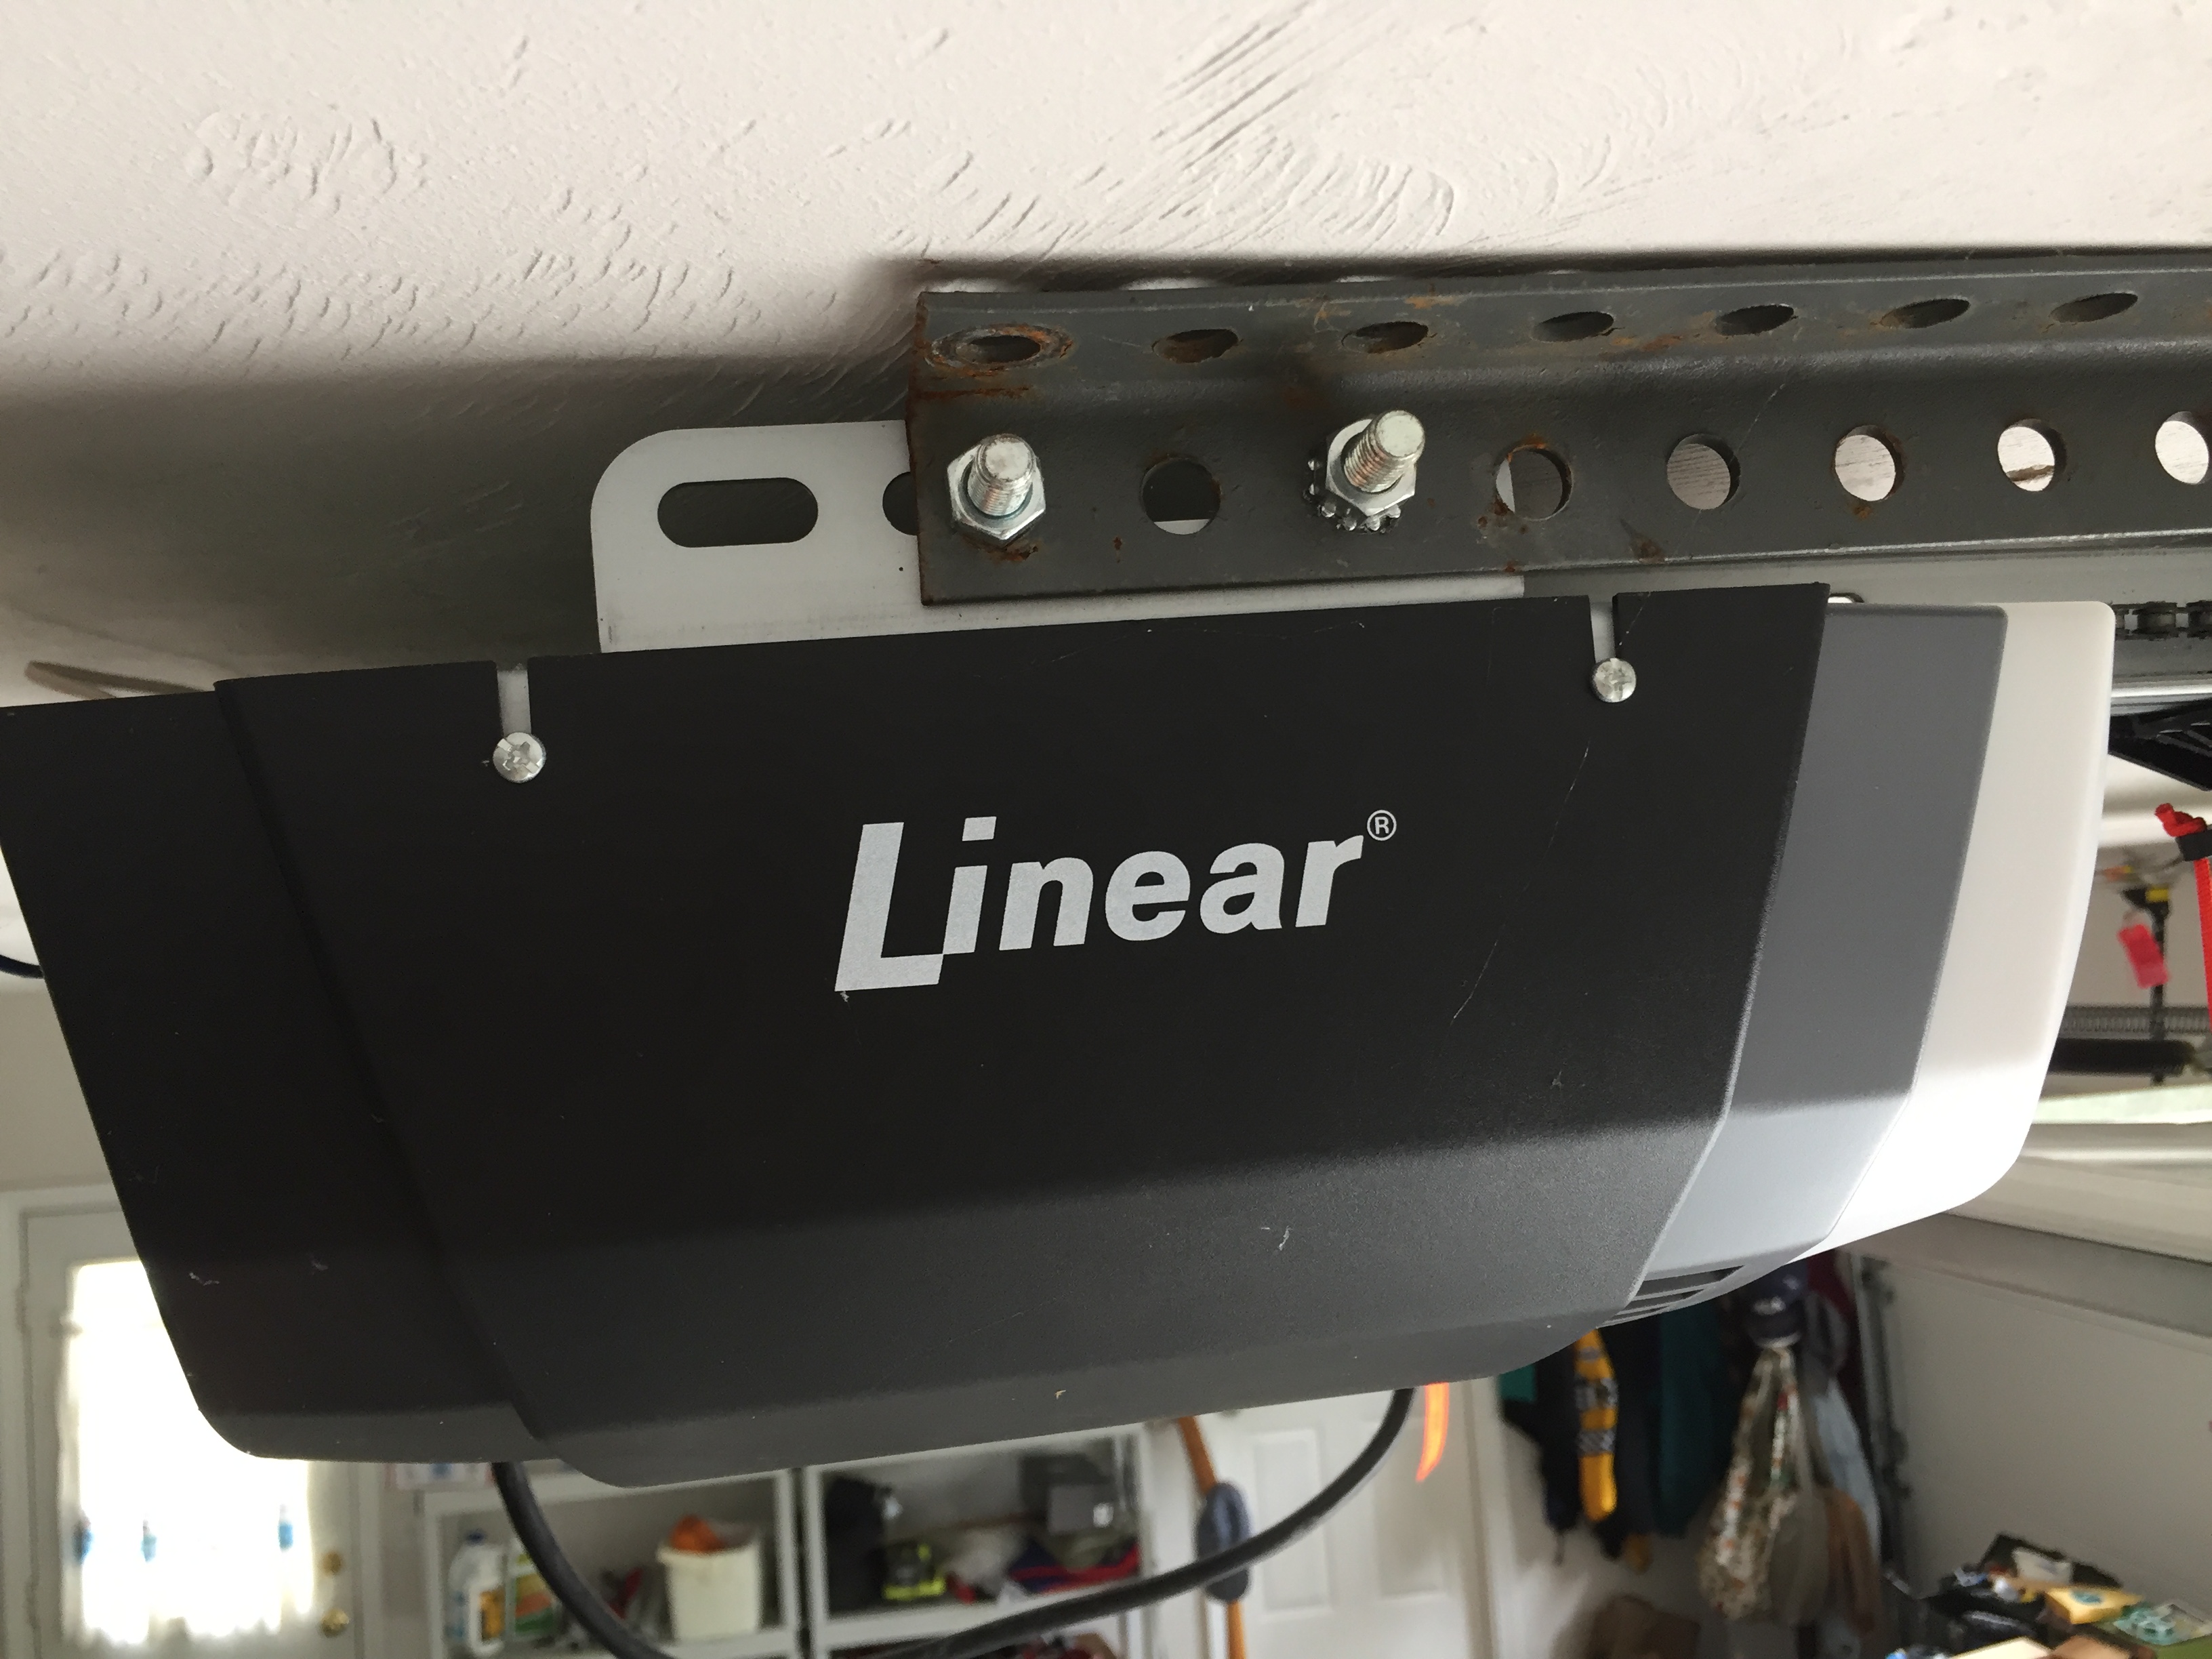
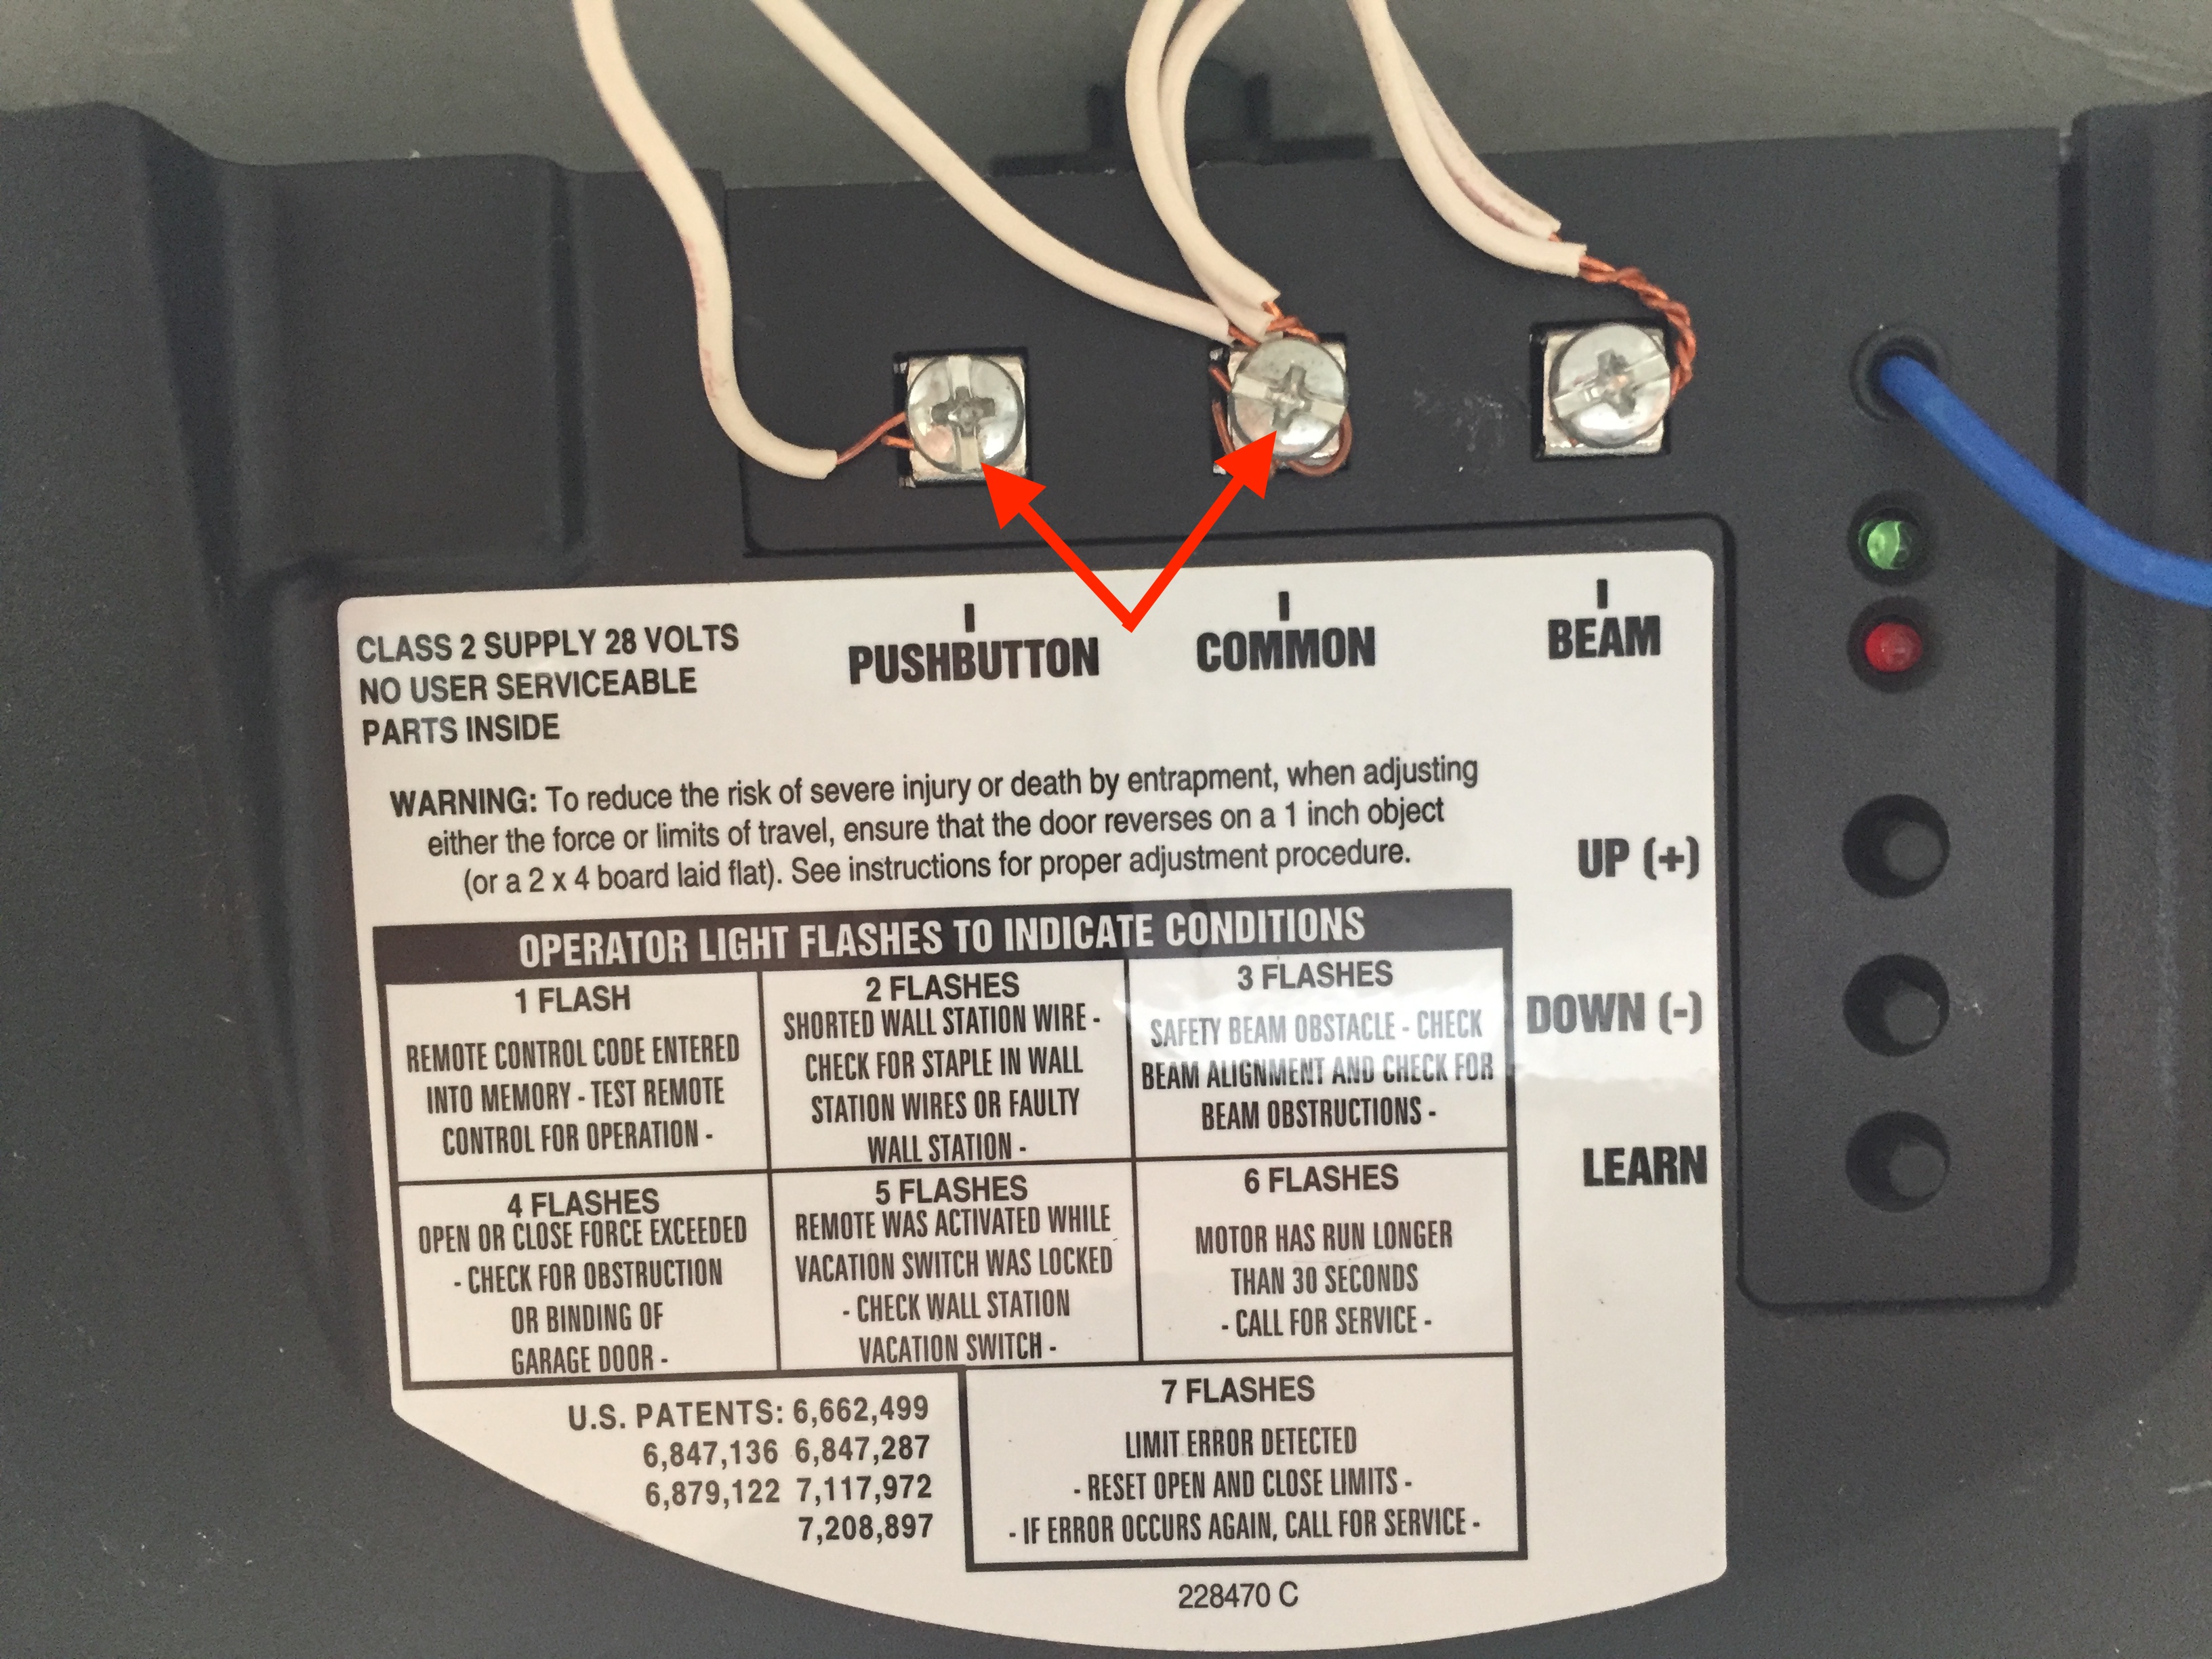
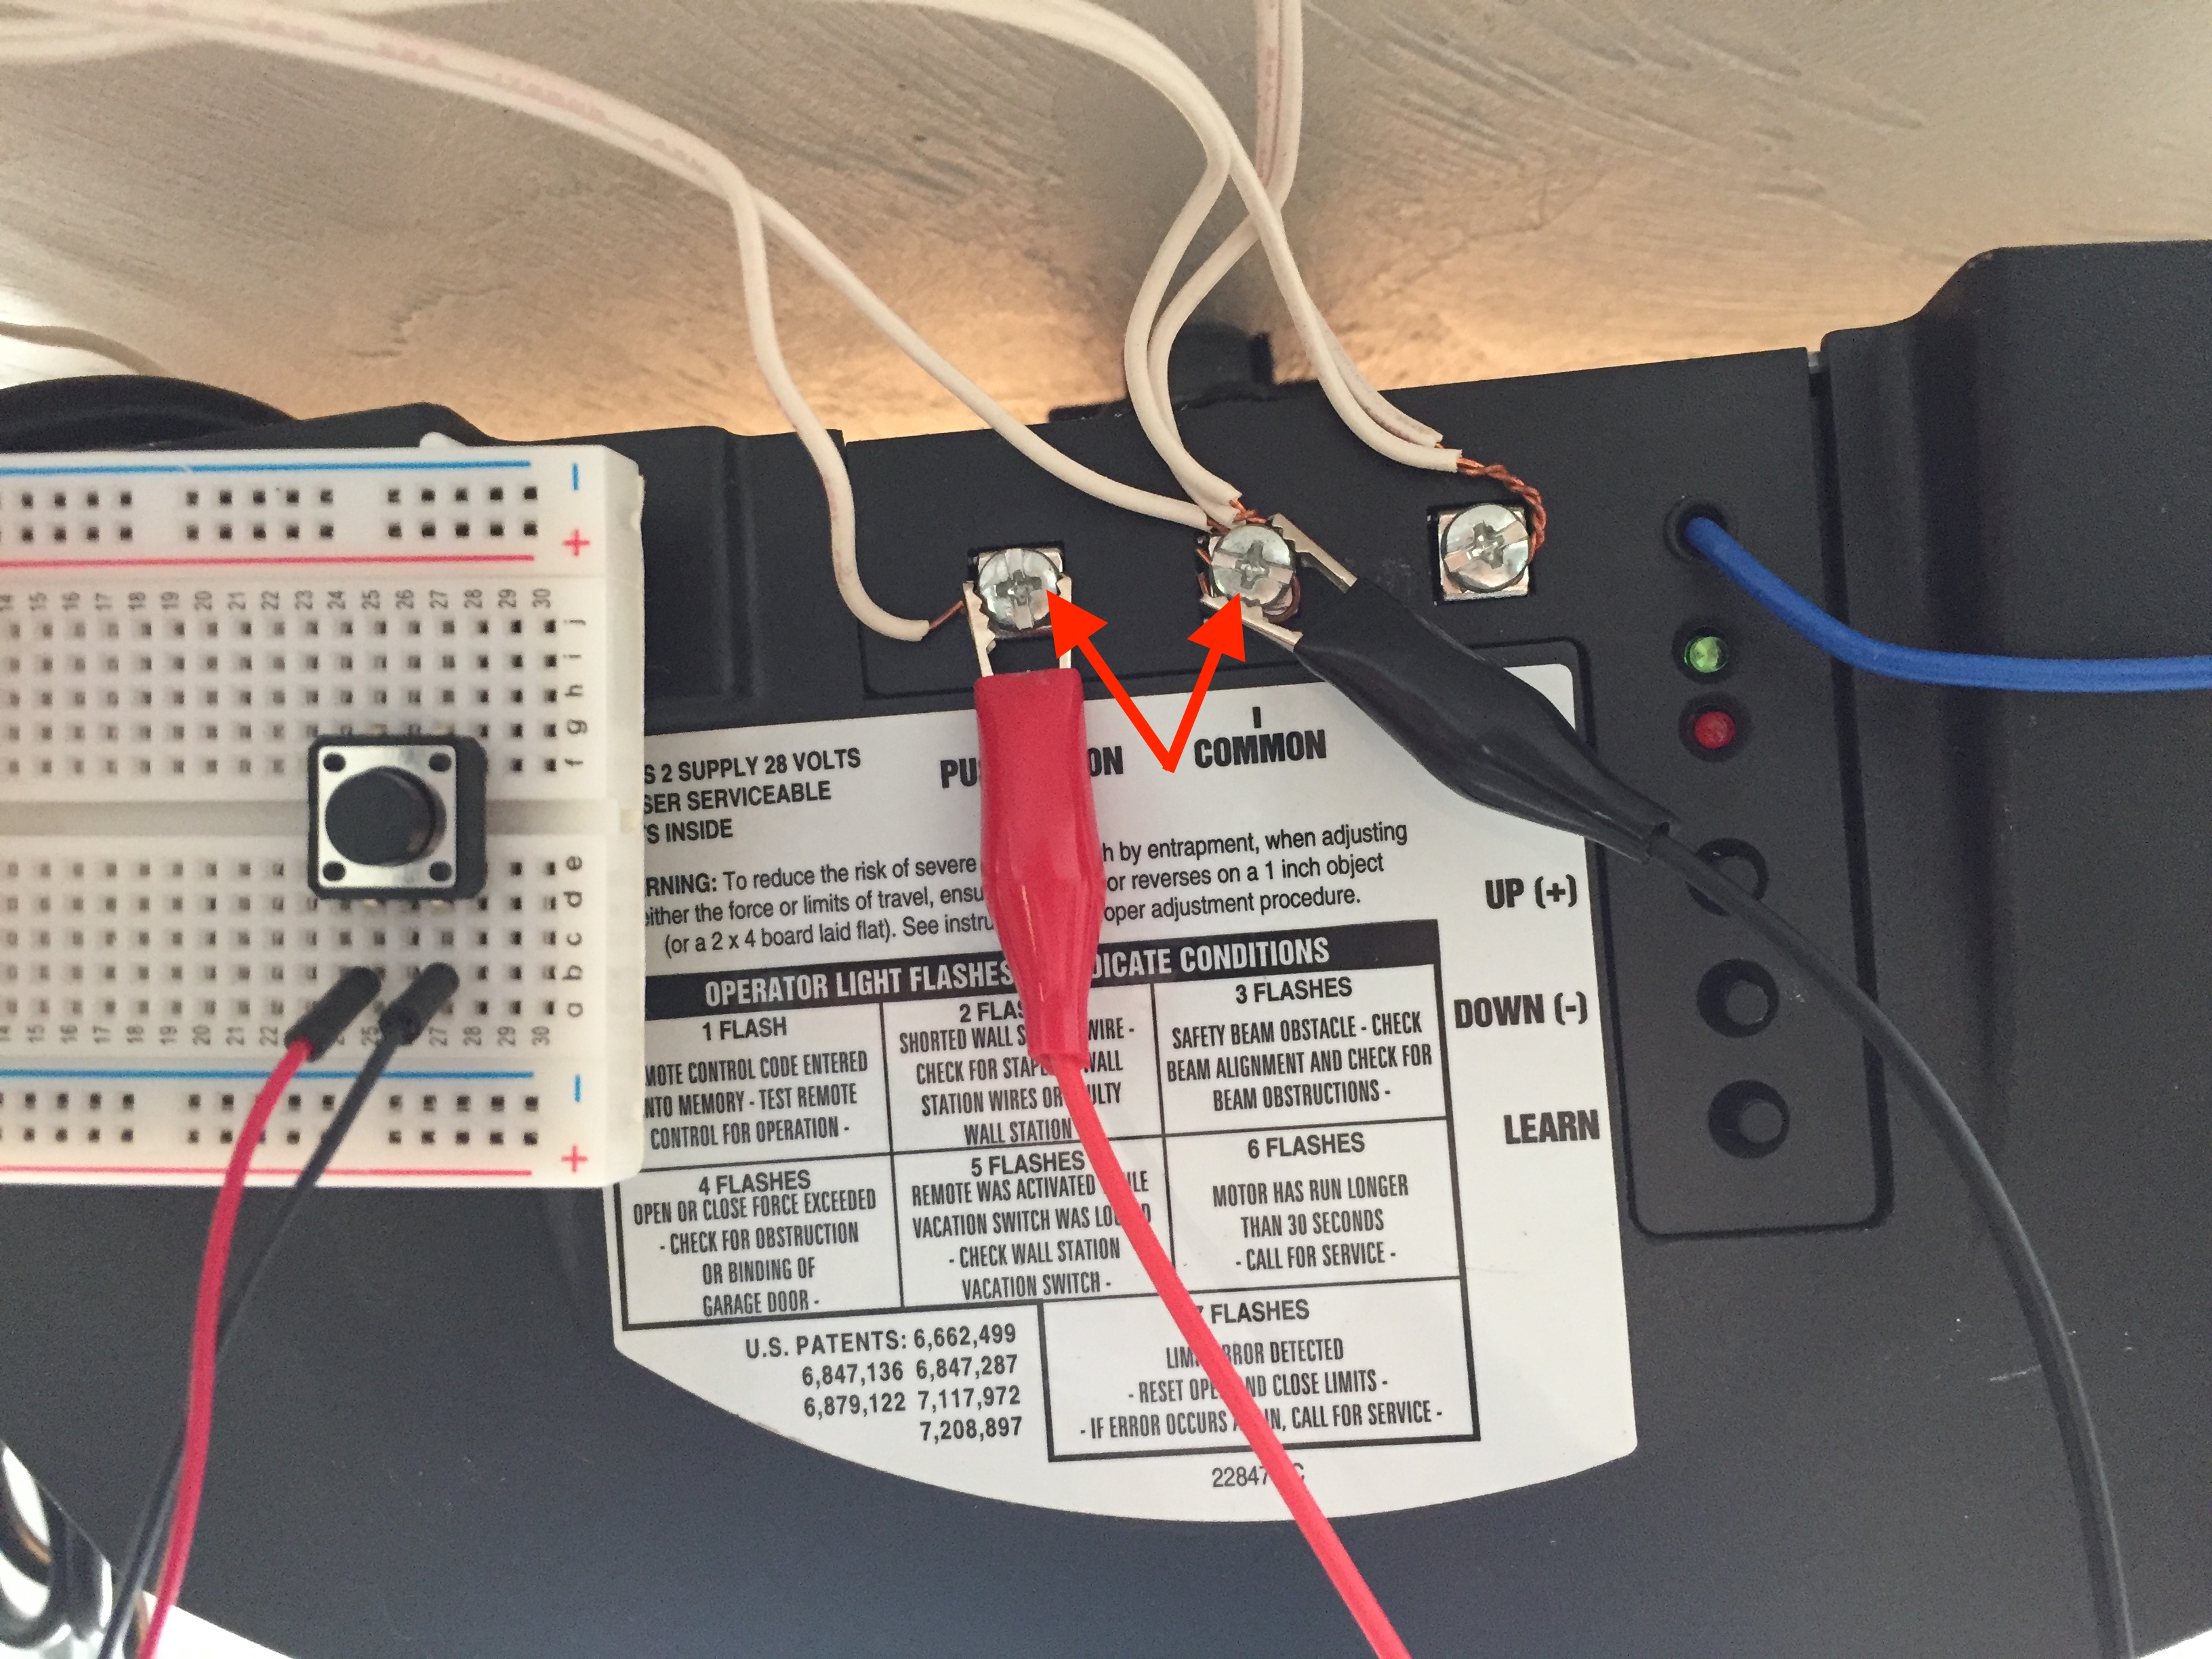
Locating and testing contacts (Linear)
In the case of these two openers, the normally open push button in parallel worked just fine. Hopefully it will on your door openers as well.
Assuming the button test worked as described, finish the installation by running a pair of wires from the common and normally open relay contacts to the terminals you located on each of the door openers. The door openers and relays should end up looking something like this:


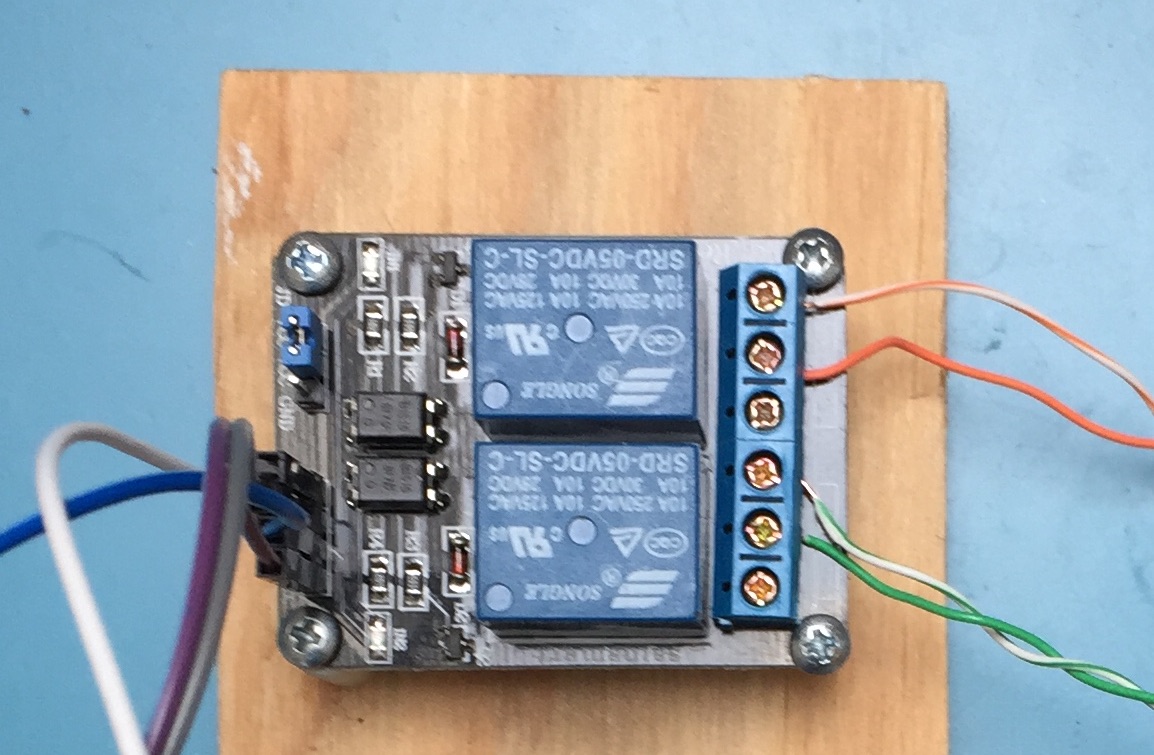
Garage door openers and relays wired
That wraps up the build and installation of a garage door monitor (opener) based on Adafruit's Adabox003. I hope you enjoyed this project.