Planning
Prototyping
In my parts bin I found everything I needed to prototype the project. My parts bin was primarily source from AdaBoxes I had received by way of a subscription. The prototyping effort went quickly and I had a proof of principle running in a couple of hours. This should be an easy project to do.
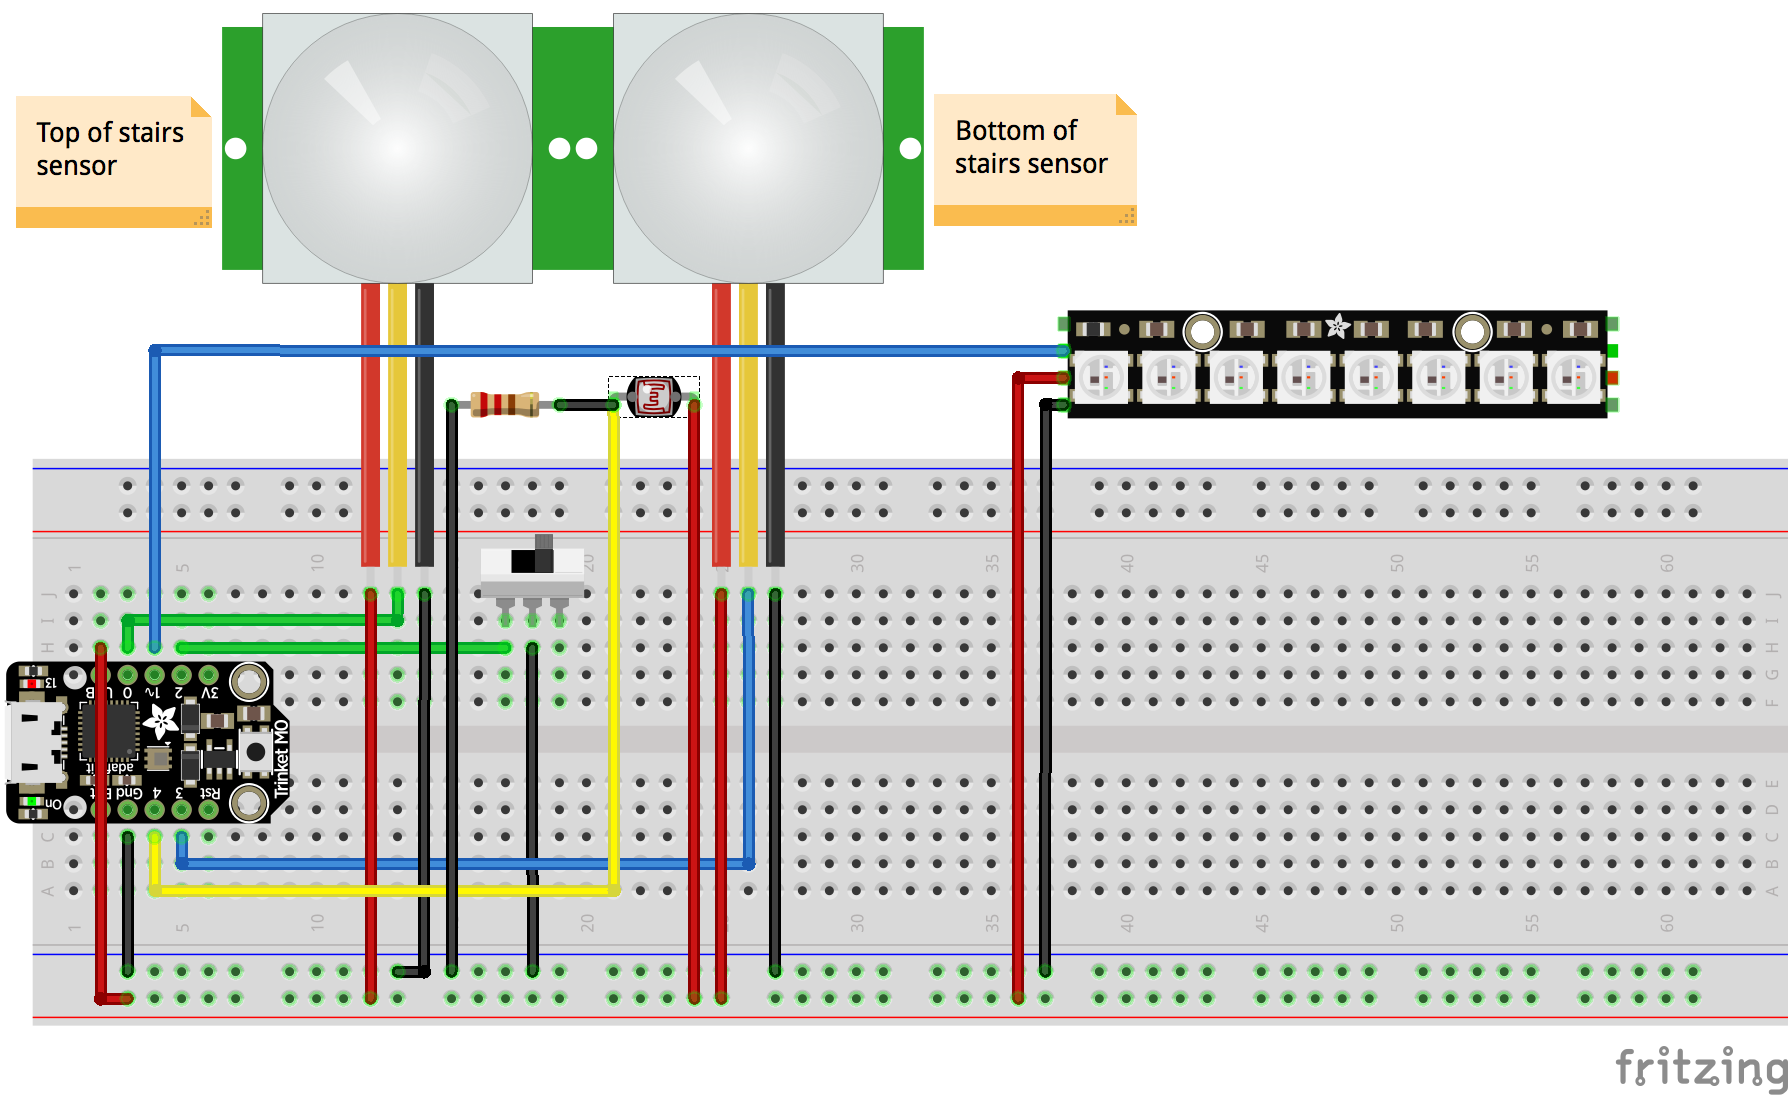
Fritzing diagram for the prototype
Now it was time to look at the details of doing an actual installation.
The "that's too expensive" phase
The linear length of the stairs was something in the 12 foot (4 meter) range. That meant I needed a long strip of NeoPixels to make this work. NeoPixels are available in a 5 meter reel (about 16 feet), which would be more than enough for the stairway project.
Let me say upfront that, when possible, I prefer to get my parts from Adafruit. They sell quality parts, provide detailed tutorials and documentation, have an excellent support staff, and have very competitive pricing — often cheaper than what you find elsewhere for similar products. Especially if you only need a few of something rather than 100 or 1,000. So naturally I went to Adafruit to price out my project.
Sticker shock. $84.75 for 5 meters of 32 LED/meter NeoPixel strip. For a couple of weeks I just put the whole concept on the shelf. That was just too expensive to justify for such a frivolous way to light some stairs. But, the idea crept back into my head, and eventually I started poking around on the web looking for less expensive strips of NeoPixels (well, technically they aren't NeoPixels as that's Adafruit's brand name for them). Turns out you can find lots of sources of 5 meter reels of WS2812B Individually Addressable RGB LED Light Strips, that cost considerably less than $85. I'm sure these strips aren't up to Adafruit's standards, but they would have to do to keep the cost of this project in check. Now the questions: Which source to use? And, which type to purchase?
Which source?
Purchasing from Amazon generally works out in these cases because you can usually get a refund if the thing you purchased turns out to be junk. But even on Amazon there were many companies selling these strips. In the end I chose a brand called Alitove which was sold by Alitove, and fulfilled by Amazon. This meant I would receive the order in 2 days with Prime shipping. Some of the offerings were clearly shipping directly from China and would arrive 3-4 weeks after order was placed. For me, saving a dollar or two wasn't worth that kind of wait.
Which type?
The strips generally come in two types (ignoring black or white for the strip color). One that is just the strip, sometimes with an adhesive backing. The other has an IPxx (dust and water infiltration resistance rating) casing around the strip. I decided to get the slightly more expensive version with the protective casing because there would be dust on the stairs and maybe the strip could occasionally get bumped by a vacuum or someone on the stairs. I think this was the correct decision for my situation, but it ended up causing me installation issues later (see below). But, it was only $25.99 for a 5 meter strip with 150 LEDs.

Selected Individually Addressable RGB Pixel Strip with protective coating
How am I going to package the electronics?
Enclosures
It was easy to find 3D models of cases for the PIRs. In fact, on Thingiverse, there were multiple choices (e.g. here, or here). Here's the one I chose to use: Selected PIR enclosure. I was lucky enough to know someone with a 3D printer and got a pair of them printed.
It took a bit longer to find a case to put the electronics in, and figure out how to power the whole thing. The 5 meter reel has 150 LEDs on it. If they're all on, especially in white mode, the strip can draw a few of amps at +5V. Clearly that couldn't be driven directly from the Trinket M0 and it's USB connector.
A search for potential enclosures for the project electronics turned up way too many choices. I finally found some that looked like they had more than enough space, but not too much. It also had a spot or two on its base that could be used to screw down the Trinket M0. Of course when it arrived, it was missing a screw for the cover, was missing the seal gasket, and had a big sticky, difficult to remove, sticker across the transparent top of the enclosure. The provider immediately refunded the price when I complained and promised to address those issues. At least I had an enclosure that could be used to start the project.
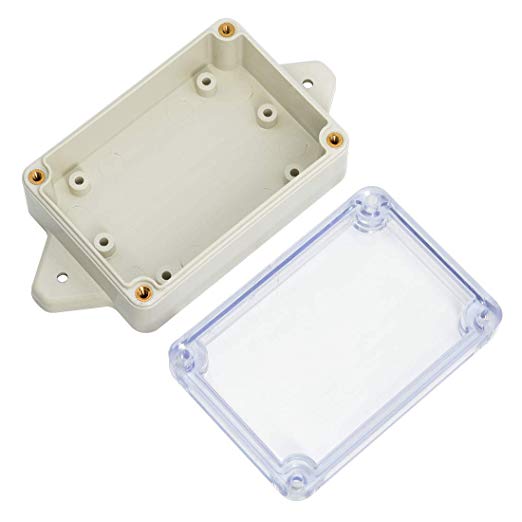
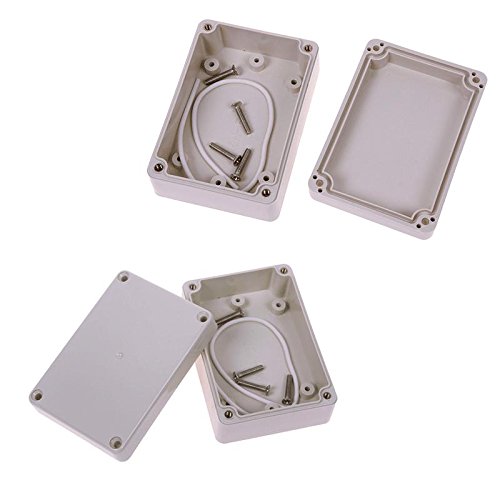
Selected (left) and alternate (right) enclosures
Power
Once I had the 5 meter strip of LEDs in hand, I could do more testing. I found that an old iPad charging module (12 watt, or 2.4amp version) provided sufficient current for the LEDs and Trinket M0. I had a USB to barrel connector cable in my parts bin (again from an AdaBox) and decided that would work pretty well. Adafruit had panel mount barrel connectors available in their store. To connect to the Trinket M0 to +5V, I added a JST-PH 2-pin SMT right angle connector to the bottom of the Trinket M0. Adafruit cleverly provided the pads on the Trinket M0 to do this.
With the power requirement sized, I needed a plan for power and ground distribution. Checking the prototype Fritzing diagram indicated that power and ground are connected to about 5 points each. From my parts bin I found a small piece of perf board and soldered 2 rows of headers, 5 pins each, on to the perf board to use for power distribution. I also soldered a 100uf capacitor from ground to +5V on this little board.
But wait, there's more
Well, I thought that was the last bit. But then it occurred to me that I'd probably want to reflash the code on the Trinket M0 now and again, especially in the early days. Being a little paranoid, I didn't really want to plug into the USB connect to my development machine while the Trinket M0 was also getting power elsewhere. Conversely, if I didn't plug in the main power of the Trinket M0/NeoPixel system, the USB connector would be trying to power the whole system. I clearly needed a way to easily disconnect pieces of the system to make this process safe and easier.
So how many connectors are required?
I started by using micro JST connectors (1.25mm with cables) soldered to the Trinket M0. With that and the JST on the bottom for power, I could completely remove the Trinket M0 from the system by disconnecting 4 connectors. That solved the reprogramming the Trinket M0 issue.
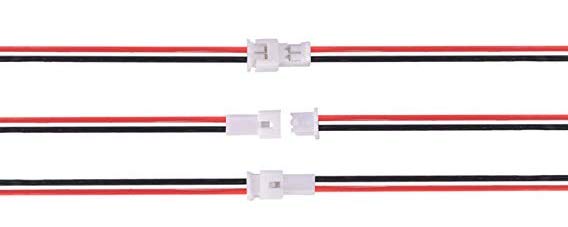
Micro JST (1.25mm) connectors
Later, when I was trying to install the system, it became clear that having the wiring hardwired between PIRs and the electronics enclosure was sub-optimal. So, more JST connectors. This time some full sized 4 pin ones. The LED strip came with 3 pin connector, so nothing more was needed for that.
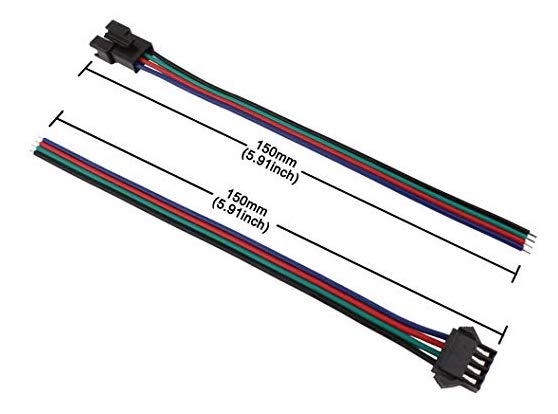
4-pin JST SM connectors
Speaking of wiring to the PIRs, I wanted something that would be fairly unobtrusive. The outer covering should be white to blend in with the molding on the stairs. And the cable must have at least 4 conductors. After looking at a few possibilities, I settled on a 50 foot (15 meter) phone cable I found at Home Depot. It was white, it had the 4 conductors I needed, and it was small and flat, which made it easier to hide. All I had to do was cut off the RJ-11 connectors.
Things did get a little more complicated than the prototype. Below is a fritzing diagram describing what was built. I apologize for the elements used, but I couldn't find the correct connectors and didn't have the patience to create them. I've used one end of a connector symbol twice to indicate the male/female parts of the connector. Hopefully it's not to confusing.
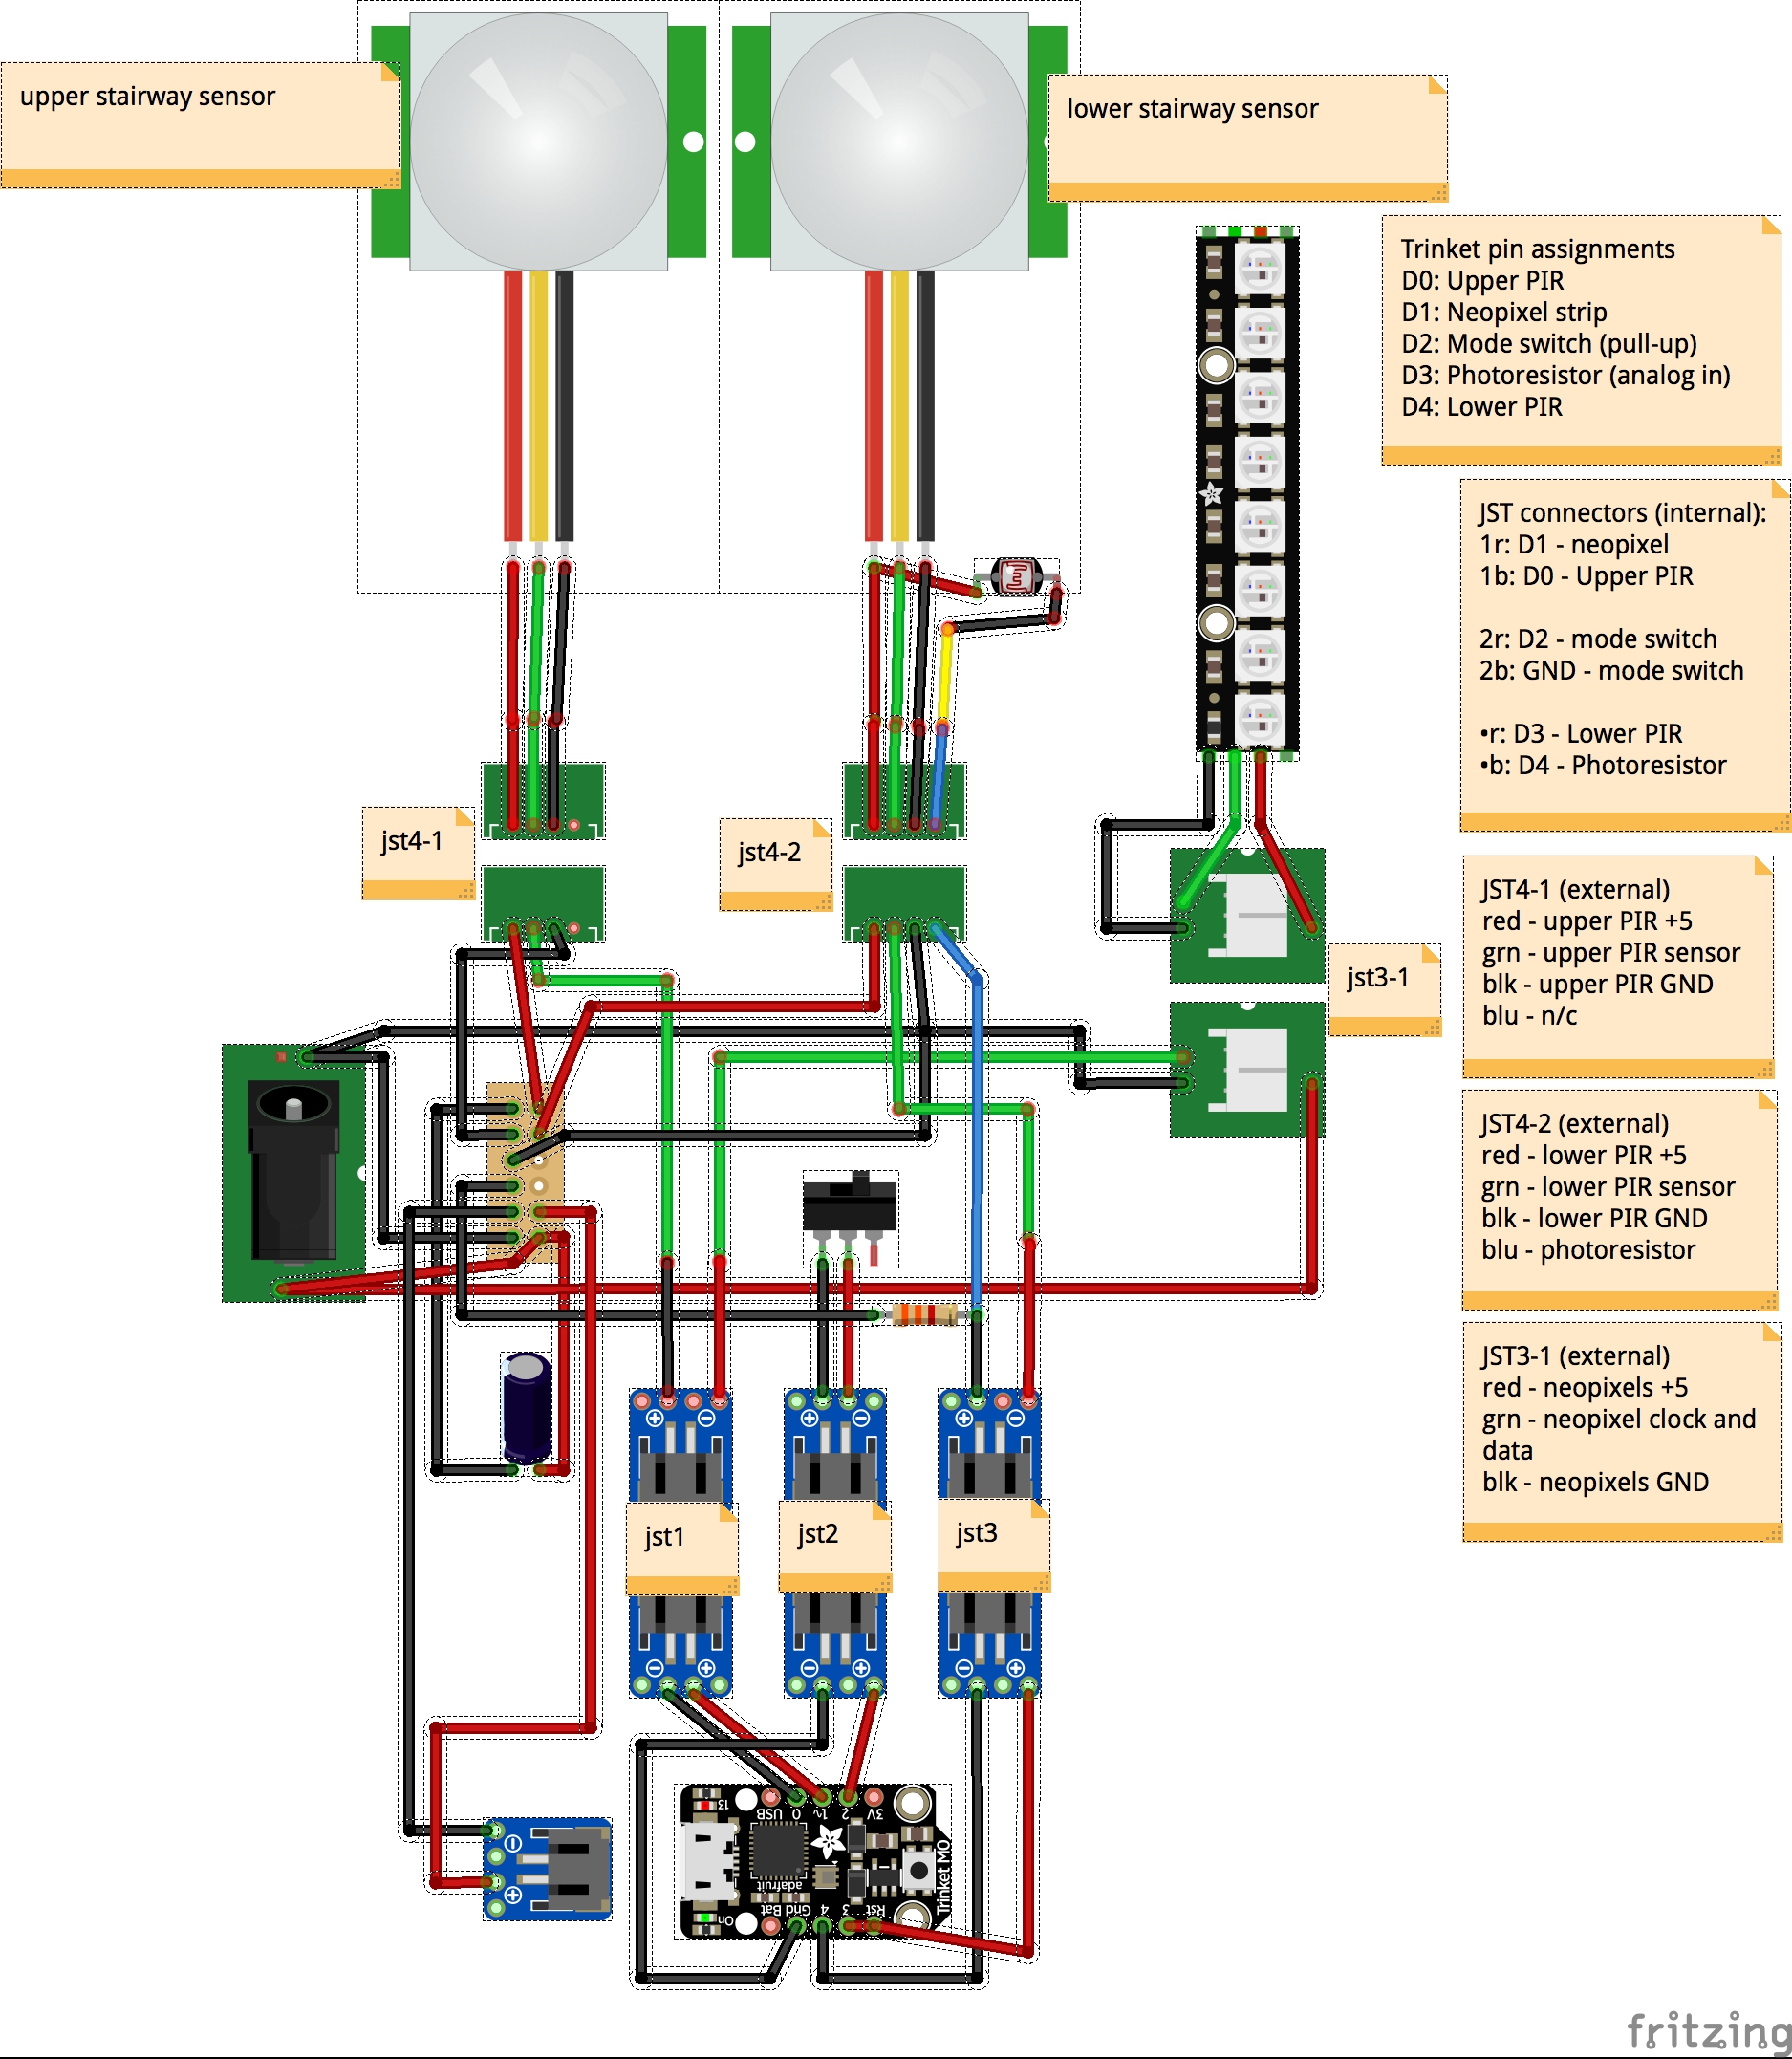
Fritzing, as built version
Anything but a sticky situation
I mentioned earlier that the choice of LED strip had caused some installation problems. Here are the details on that.
The IP67 casing is made of silicone. Nothing‡ sticks to it. I had originally planned to use outdoor double sided tape to install the strip. But this incredibly sticky tape wouldn't grip the LED strip at all. A little research showed that the silicone used is chemically related to teflon. Nice. So another mounting approach was required.
The LED strip came with 5 silicone U-brackets and screws for mounting. It turns out it's easy to find more of these at Amazon. But, I really didn't want to drill a bunch of holes in my molding. More research found that there is an adhesive that will bond to silicone. It's expensive, seems to be intended for commercial use, and I'm not sure I want to be breathing the fumes while applying it.
I finally found cable clips designed for LED strips with a sticky back. The trick was finding one that would fit the LED strip I had selected. The LED strip casing seemed to be a bit larger than any of the clips I was finding. I eventually selected a clip that seemed like it should be close to fitting. However, when the clips arrived, it was clear the measurements were off and strip would not fit into the clips. Using an x-acto knife, I was able to trim off a portion of the clips to press them into service. This really was the most problematic part of the project.
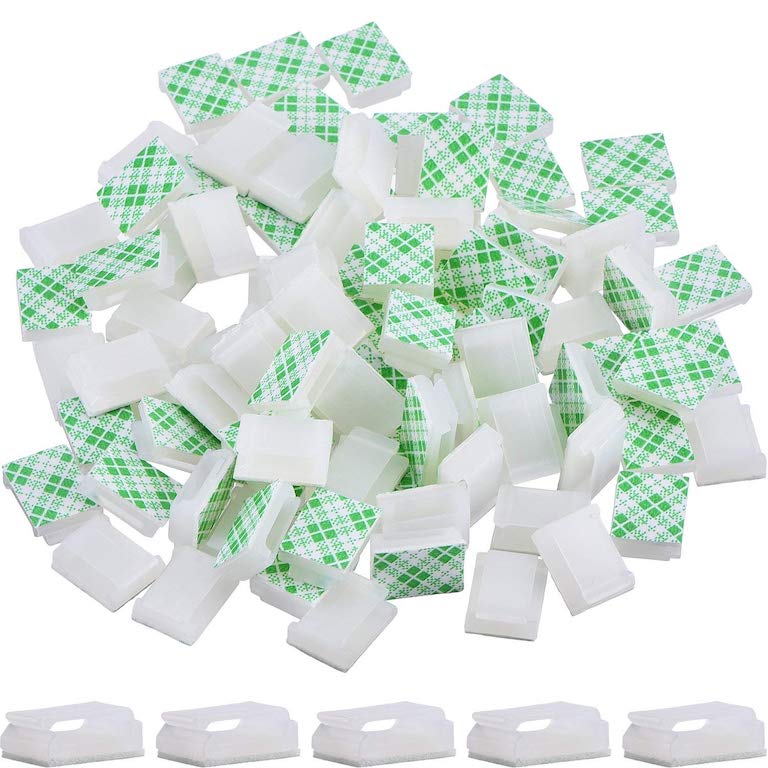
Cable clips
‡Update: Mike at Adafruit support let me know that E6000 adhesive will bond very well to the silicone casing. (Thanks Adafruit support!) For some reason, I never stumbled across this product. E6000 adhesive is readily available from crafting stores like Michaels and AC Moore, and from Amazon (one seller)